Project: Front Yard Lawn Part 1

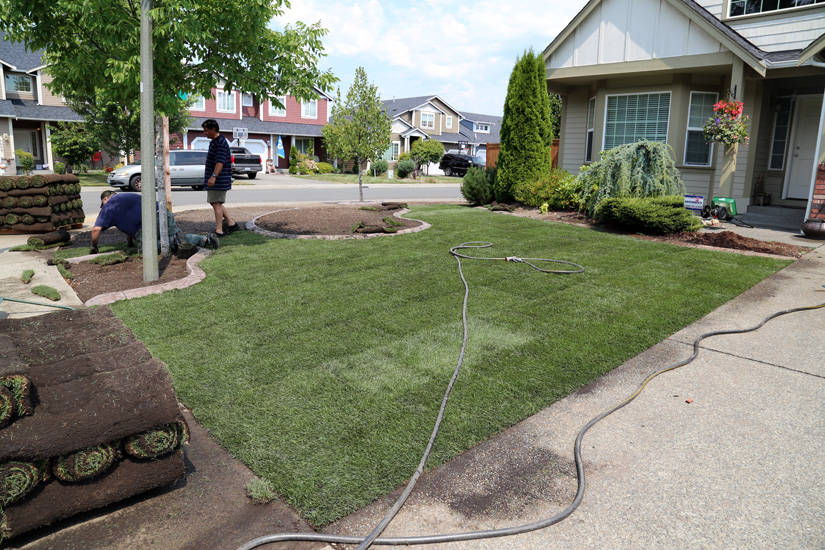
We install our new sod today.

2014-08-02 010_edited-1

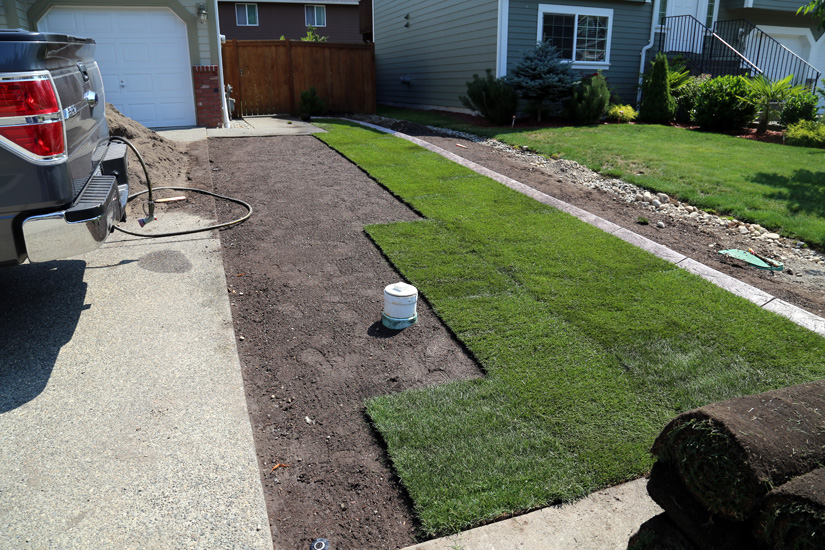
3 pallets arrived and we had our work cut out for us.

2014-08-02 009_edited-1

Gino and I started just moments after the sod was delivered at 11:45 a.m and by 12:30 we had the south side almost finished.

2014-08-02 011_edited-1

Just after I took the above photo our neighbor to the north arrived to help and I was out of a job.
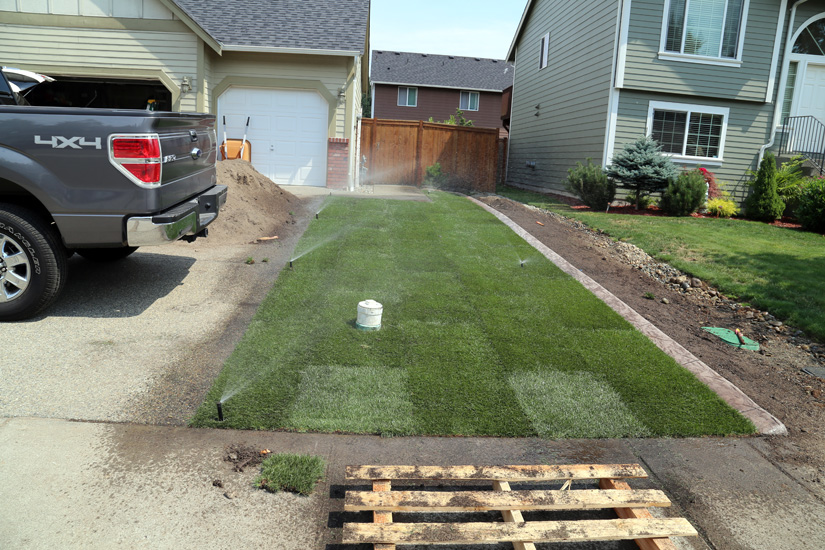
Actually with 3 people working on it, the job gets done a lot faster.

2014-08-02 013_edited-1

By the time we finish the south side our other neighbor from across the street came over to help with our sod project.
I still had work to do. I kept the pallets of grass wet, unloaded sod while the men laid it, kept the edges from drying out, and kept the men hydrated too!

2014-08-02 017_edited-1

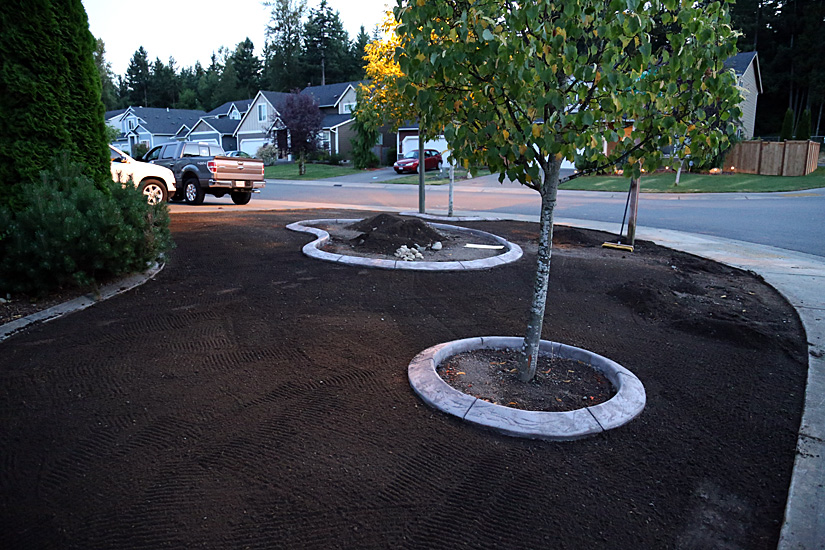
By 4:30 the front yard sod was down!

THANK YOU! Neighbors!
(without their much appreciate help Gino and I would still be out laying sod)

2014-08-02 019_edited-1

Looks great!

2014-08-02 020_edited-1

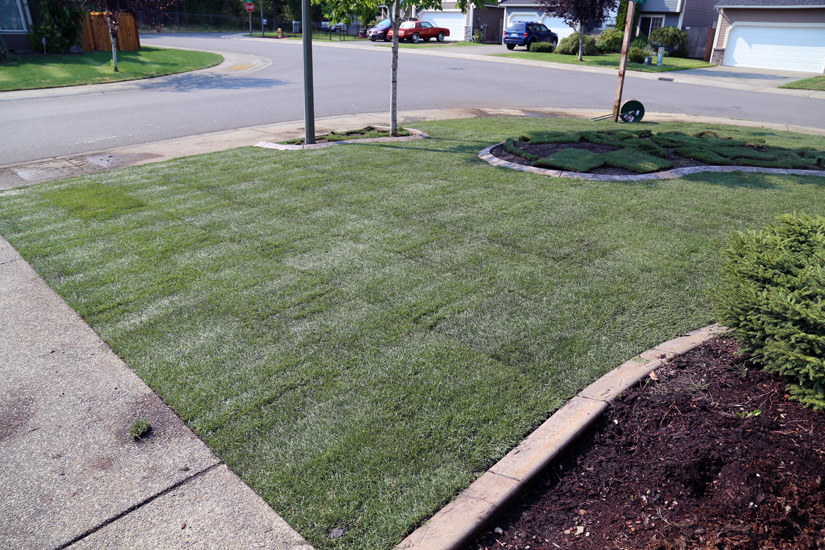
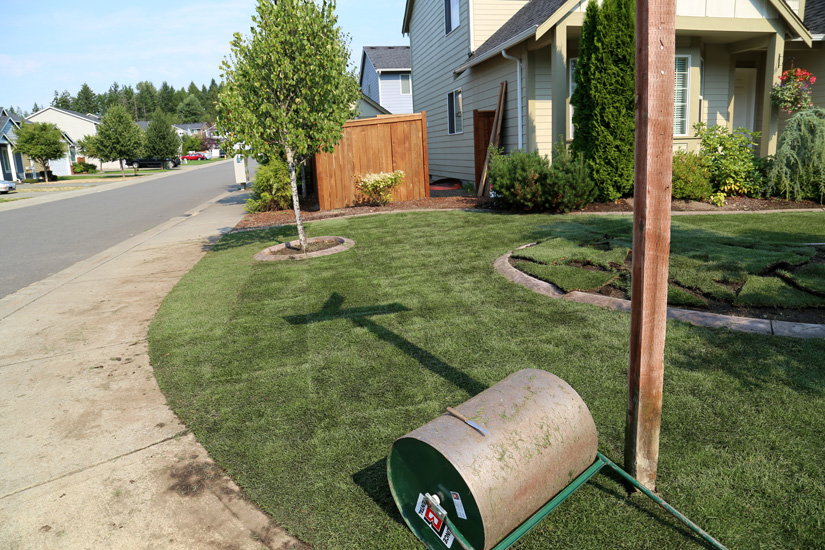
Walking around looking across the yard from the driveway.

2014-08-02 021_edited-1

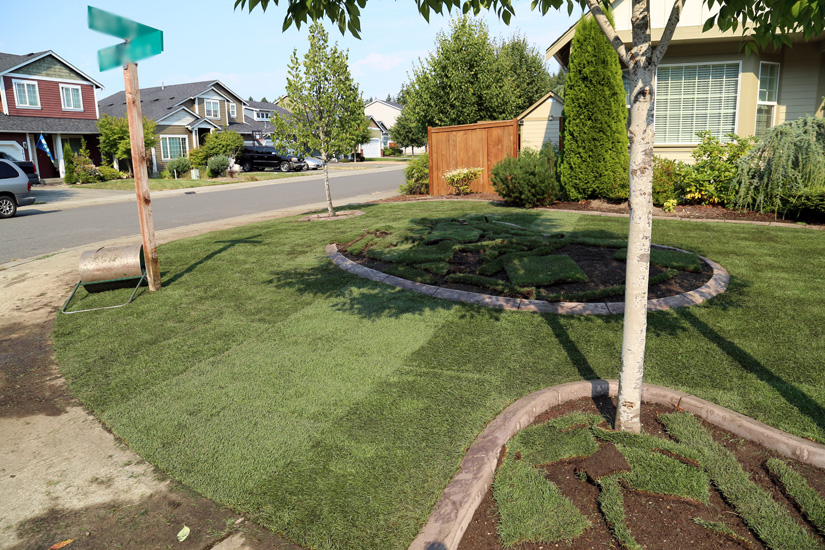
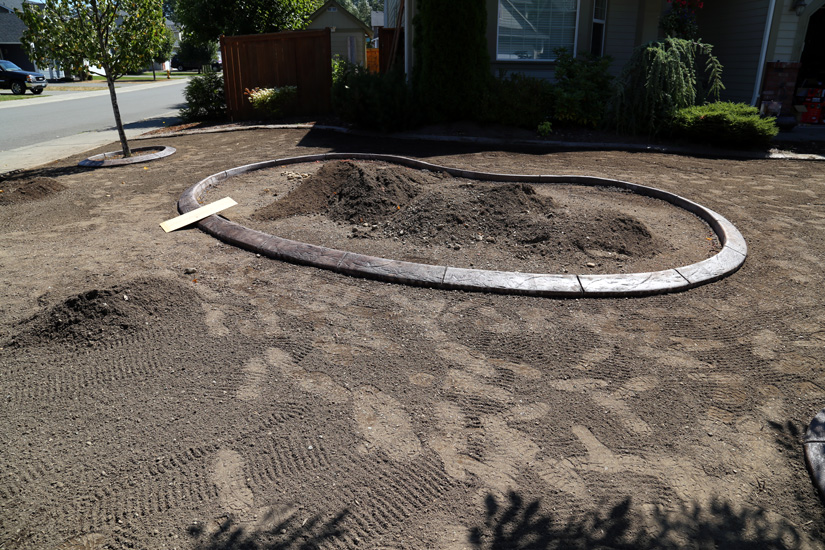
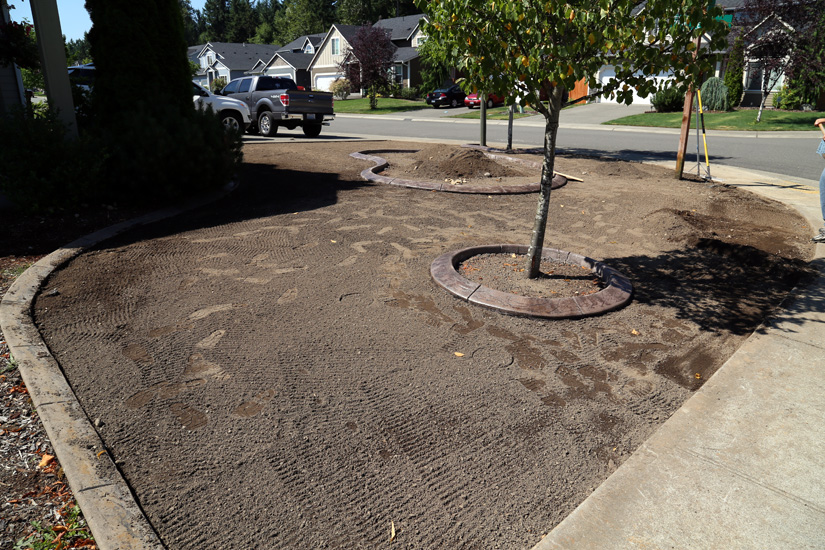
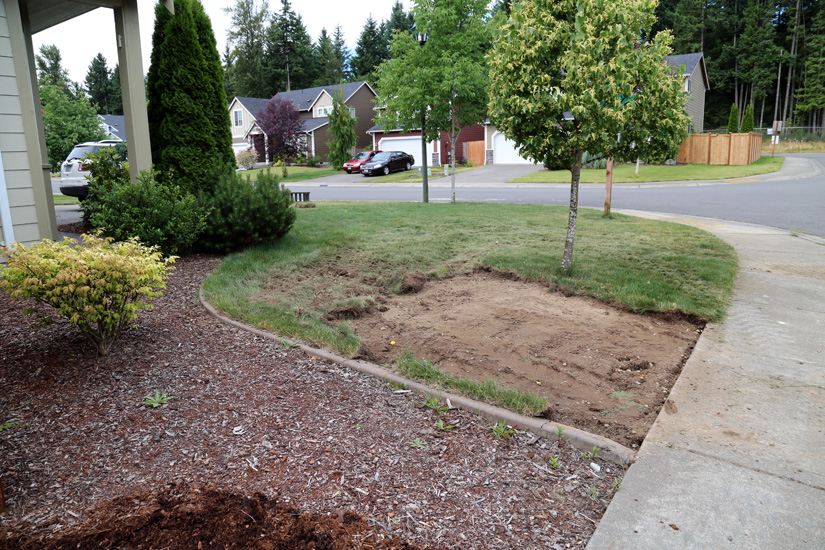
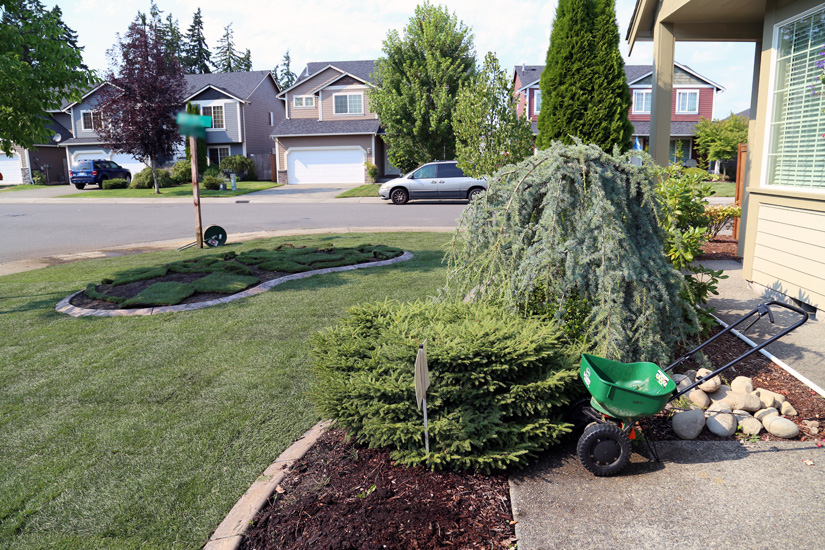
The extra grass in the curbed areas will not stay there, just keeping it moist.

2014-08-02 022_edited-1

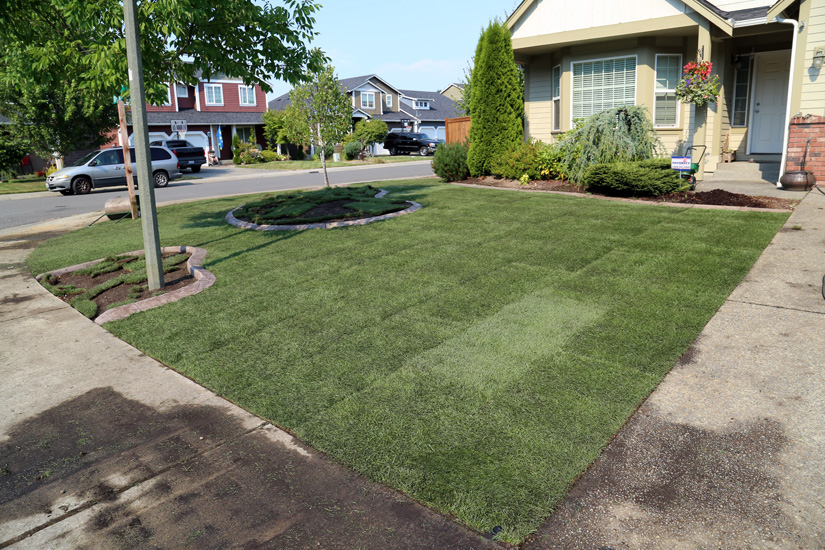
Trimmed up and rolled out.

2014-08-02 023_edited-1

It’s finished… on to the next project!

Project: Front Yard Curbing Part 2

This morning the curbing guy came back out and stained and sealed the curbing in the front.

2014-07-26 002_edited-1

This curbing close-up looks O.K., but needs to be darker.

2014-07-26 003_edited-1

Looking at the curbing from here you can see the blotchiness.
Gino says it looks purple. I say it needs to be darker.

2014-07-26 005_edited-1

The “jellybean” is splotchy and looks terrible.

2014-07-26 006_edited-1

Looking across the yard toward the southwest.

In this picture you can see that the color around the new curbing is not the color of the existing curbing (far left). The curbing guy will return on Monday and maybe we can get a closer match.

2014-07-26 009_edited-1

I remembered to get the south side of the front yard!

The side on the left of the curbing will be grass and the side on the right will be a row of evergreen plants or some type of shrub. It’s still in the planning phase.

2014-07-26 010_edited-1

A view from across the street looking east.

I can’t get the whole yard unless I stand in the neighbors yard and even then I get most of the street.

2014-07-26 013_edited-1

Close-up of pattern, color and seal.
Blotchy and not the right color.

Project: Front Yard Curbing

The curbing guys came on Tuesday but I was unable to get out and get pictures because the next 2 days it rained!

So tonight I was able to get out and get some photos of what our new front yard will look like.

2014-07-25 002_edited-1

Looking southwest over the whole front yard and the new curbing.

The tree curbing (in the foreground) will be filled with rock.

2014-07-25 003_edited-1

Looking south toward our “jellybean”.

This new “jellybean” will be filled with dirt and then plants.
We haven’t really decided yet, so it’s still in the planning phase.

2014-07-25 006_edited-1

Looking northwest toward the “jellybean” and street light pole curbing.

The curbing around the street light and tree (on the far left) will be filled with rock.

2014-07-25 007_edited-1

Looking north from the top of the driveway.

2014-07-25 008_edited-1

Detail of the new curbing, the pattern is very close to the original curbing
we had put in back in May of 2009 by another guy. Hopefully we can get the color to match.

BTW! Sorry… I forgot to get pictures from the south side front yard curbing. I will make sure to get pictures after we get the color and seal added.

Project: Backyard North Side

Wednesday we are having a guy come out and clear out our north backyard. It’s been an eye-sore since the fence was built 8 years ago and it just seems to be getting worse. Gino and I can’t move the dirt and debris by ourselves so the guy with the bobcat will do it for us!

026_edited-1

Looking west toward the front of the house.
This area is a catch all for all our extra yard junk.

027_edited-1

Wood and boards from the fence. Pavers and block from the pathways.
Broken buckets and old pots from plants.
Lots and lots and lots of rocks (not just from the gravel pile in the foreground) from around the yard.

029_edited-1

Looking east toward the back of the house.
Our weed patch and hill home to slugs, bugs and a few years ago, a bunny and her babies.

Last Days Of May

This weekend we were able to get outside and get our hands dirty!

2014-06-02 005_edited-1

Gino started building the second raised garden box on Friday and was just about finished with it when Isabel and I got home from school.
On Saturday he applied the first coat of stain. Today we finished the staining.

2014-06-02 006_edited-1

Assembly started a few hours after it was drying.

2014-06-02 008_edited-1

While he worked on his raised bed project I was over in the yard working on cleaning up the flower bed around the maple. I got the weeds and grasses pulled, a new water-well made for the maple and some new flowers planted in front. I’m thinking the area under the maple needs some fill.

2014-06-02 009_edited-1

I’m slowly working my way over to the side fence. I have 7 more new flowers to get into the ground and pots. When I get them all in the ground and potted in pots I’ll photo all the beauty.

Project: Earring Frame Part 2

With Christmas tomorrow, I’ve been putting off my project and spending my time with Isabel and Gino and not working on it.

Tonight Gino helped me bring it all together and it’ll be under the tree in the morning (hopefully)!

2013-12-24 003_edited-1

Trying to get the placement just right for the flowers.
Gino has an idea on how to get them attached to the frame (since I purchased the wrong frame).

2013-12-24 004_edited-1

I coated the flowers 6 times with the glitter paint just to make sure the were extra sparkly!
I love how they turned out!

2013-12-24 005_edited-1Gino’s smarty idea was to add a dowel to the frame dip to get more surface area for the flowers and letters so they would stick! The flowers hide the dowel so well you can hardly tell it’s there.

2013-12-24 007_edited-1

We both decided that the silver glitter letters just didn’t work with the metal in the frame.
So I decided to paint them a matching color to the glitter and then I used the glitter paint to add the same sparkle as the flowers.

2013-12-25 001_edited-1Working with placement for the letters.

Unfortunately I didn’t add the dowel, like Gino suggested and just went ahead and glued the letters down. They didn’t stick! As soon as Isabel opened the box, all the letters popped off! I was upset but she was cool with it and I told her I’d add the dowel and it would be all good. She also gets to pick out the ribbon that I will use to attach to the frame so she can remove the earrings easier.

When it’s finally complete, I’ll add a finished photo.

Project: Earring Frame

I got this wonderful idea off the web and thought that I could do something like it for Isabel and all her little earrings she’ll be getting soon.

I purchased a pre-painted white frame and a few embellishments to give it some pizzazz.

2013-12-16 016_edited-1

All the items I think I’ll need.
I might get started and think of something.

2013-12-16 013_edited-1

I picked out colors that I know she will like; purple sapphire, turquoise, bubble gum and sterling.
All the paints are glitter! So this is really going to sparkle!

2013-12-17 002_edited-1

Things are looking great!

I ended up using regular glitter for the letters. The paint just wasn’t covering like I wanted it to. So a little dip in glue and I got them covered.

Everything needs to dry and then tomorrow I’ll hopefully start to attach it all to the frame. Gino is going to help me with the aluminum and getting that attached to the frame correctly. It’s coming together! When it’s all finished I’ll post a completed project photo!