We got the siding finished!
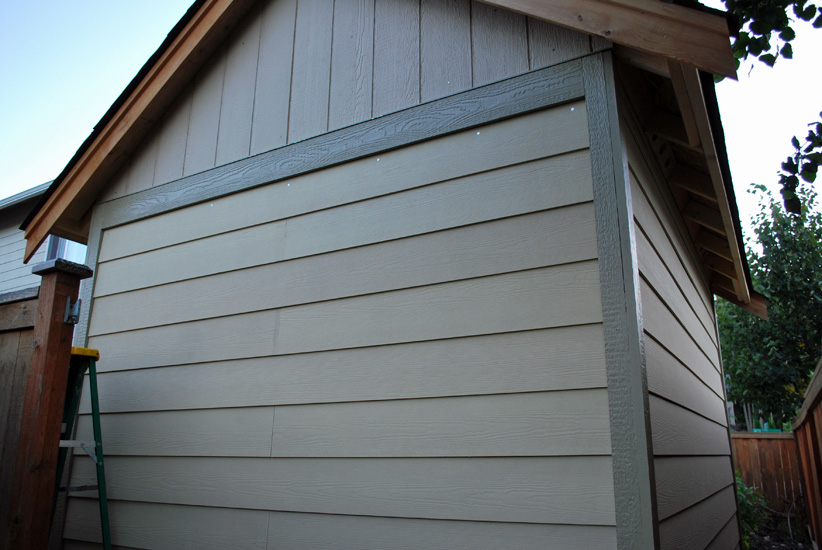
North wall and west wall complete!
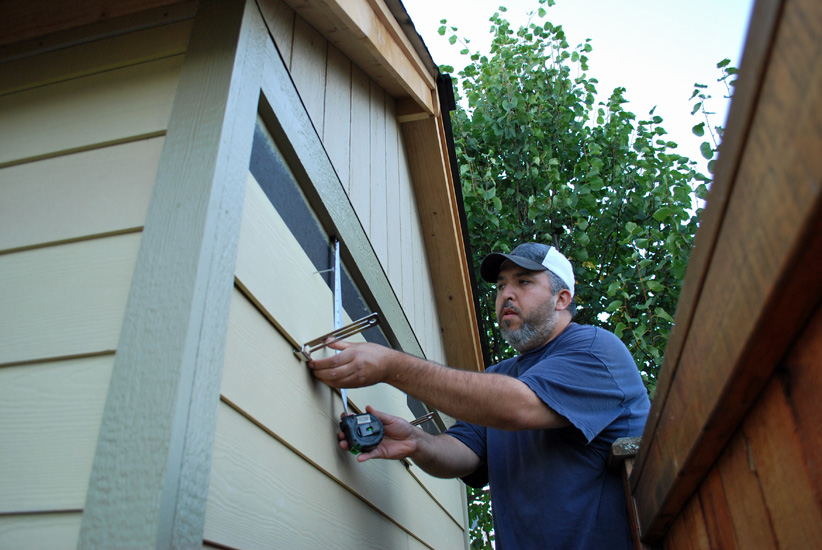
Final measurements…
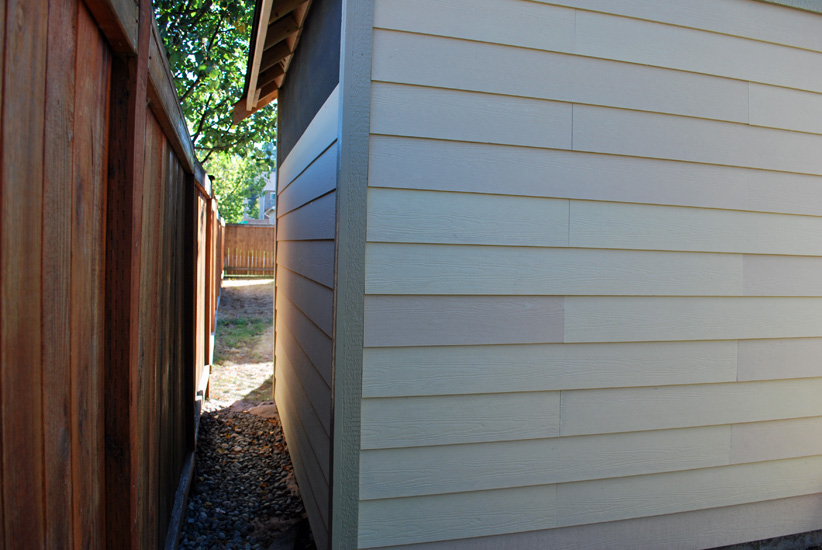
It’s all complete!
Now it’s time for paint.
A life full of faith, hope, love, and laughter.
We got the siding finished!
North wall and west wall complete!
Final measurements…
It’s all complete!
Now it’s time for paint.
Last night we worked on getting the north wall completely sided, we didn’t get it finished. So our goal for today is to finish it and get the east wall finished as well.
West wall work from last night.
On the west wall we were able to use full boards with only about a foot needing to be trimmed off the ends. Since they were all the same length it went so much faster!
Well, here we are again, working on our backyard project. Need to have several more nice days in order to finish the outside. The inside can been done during the rainy days of fall.
Today we are painting all the trim and then finishing the siding.
Looking east toward the west wall.
When Gino is finished with painting the trim we will finish this wall of siding.
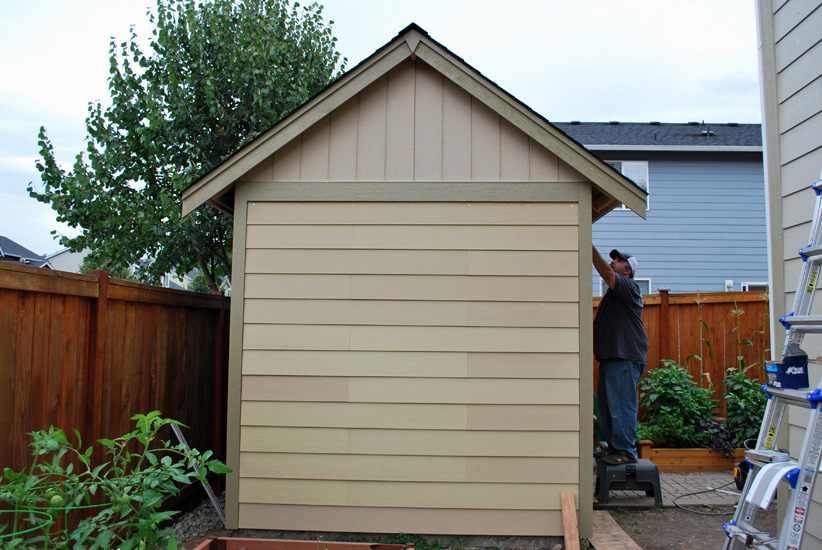
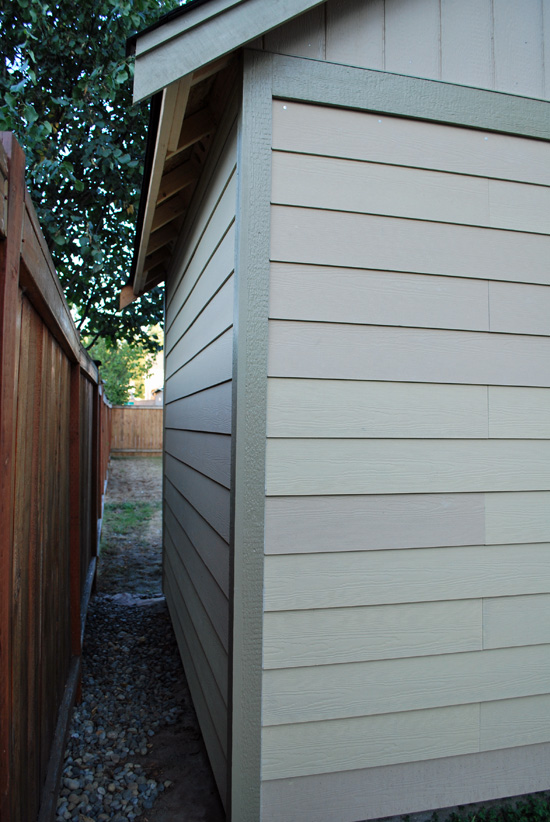
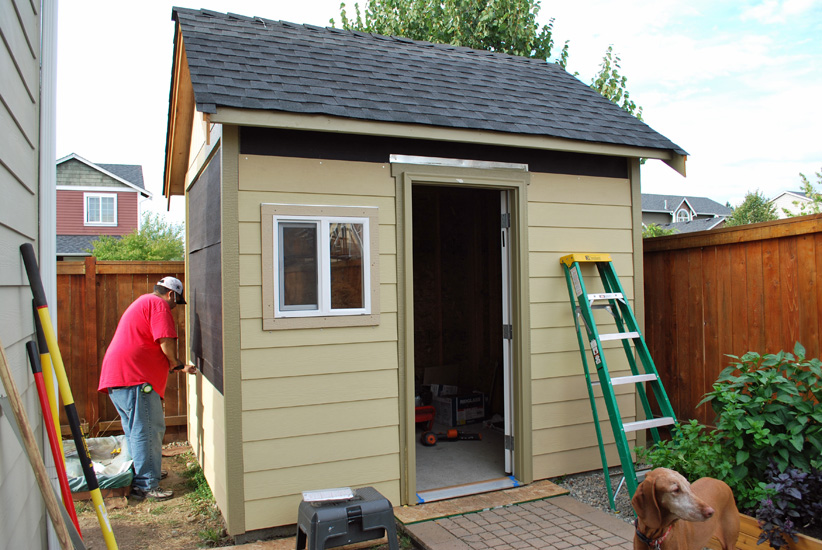
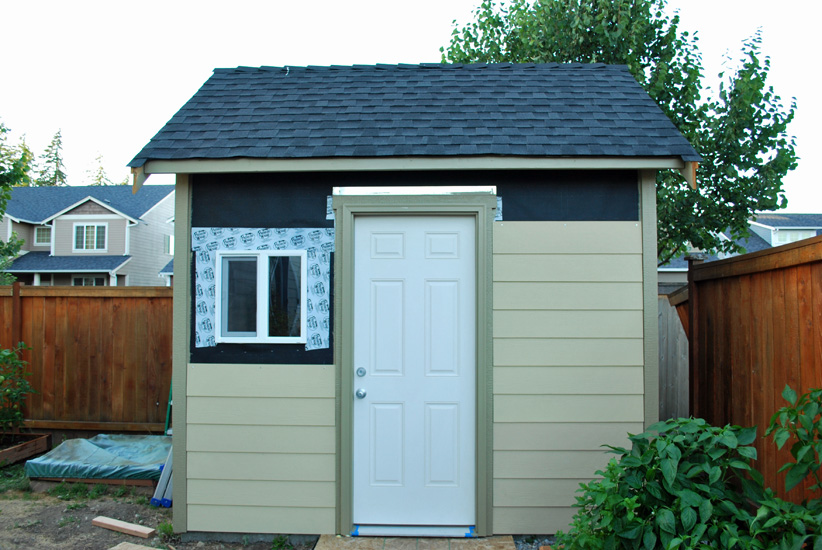
We got this wall finished!
The clouds have begun to move in again and it looks like rain.
The siding (in the above photo) is not the finally color. We were able to get the exact color of paint from the house for trim and siding. We need to finish the north and east wall siding. Gino is working on finishing the south wall siding above the door.
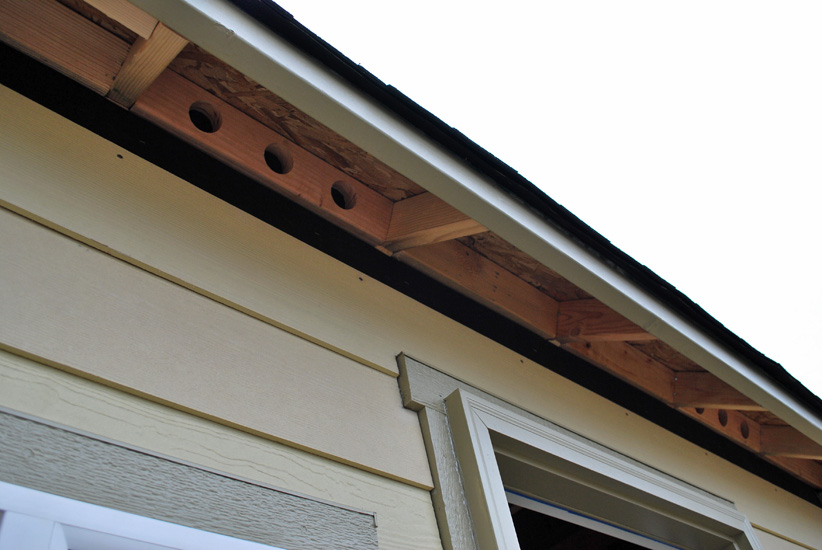
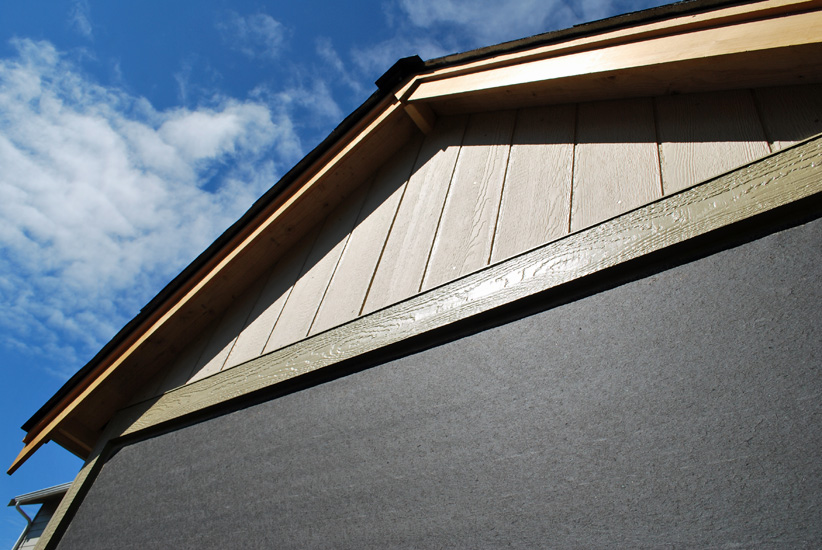
South wall under eave vents.
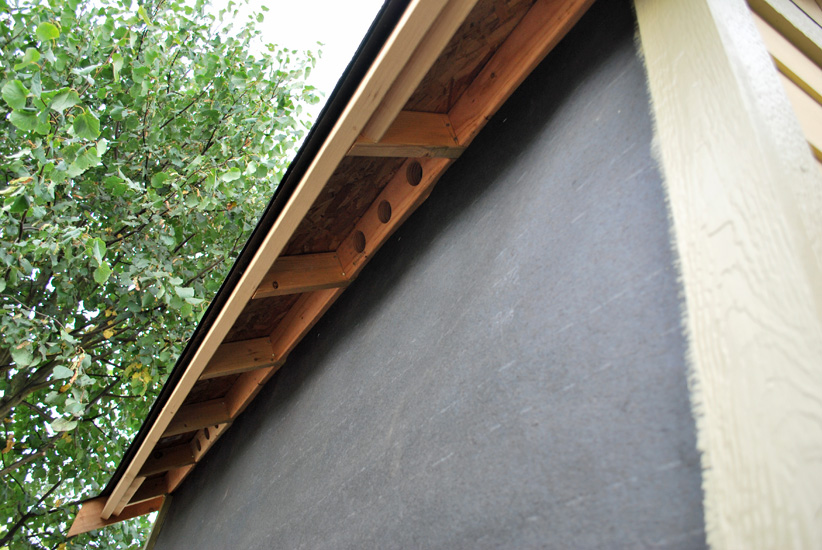
North wall under eave vents.

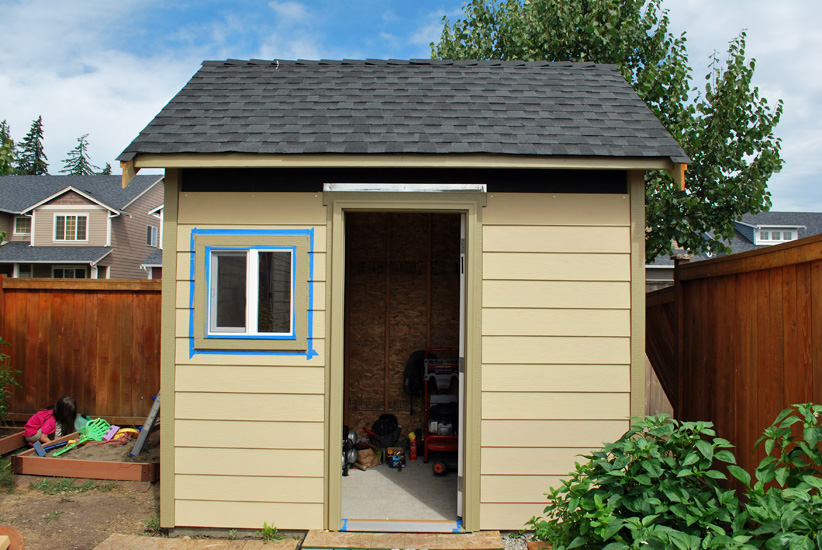
We are finished for the day. We got both west and south walls complete (the walls you can see in the photo) and started siding the north wall.
Gino’s been trying to get outside each night to do more work on the shed. But this week we’ve had a few rainy days so work has been delayed due to weather. I hope we can get this done before the real rainy season begins!
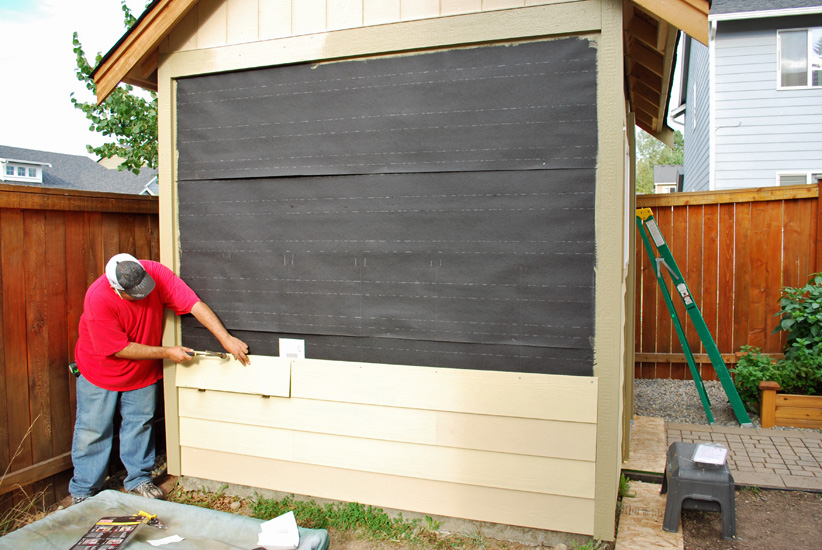
I try to help where I can. I tried hammering in the nails to the concrete board and I just don’t have enough force to do it. So he does the hammering all by himself.
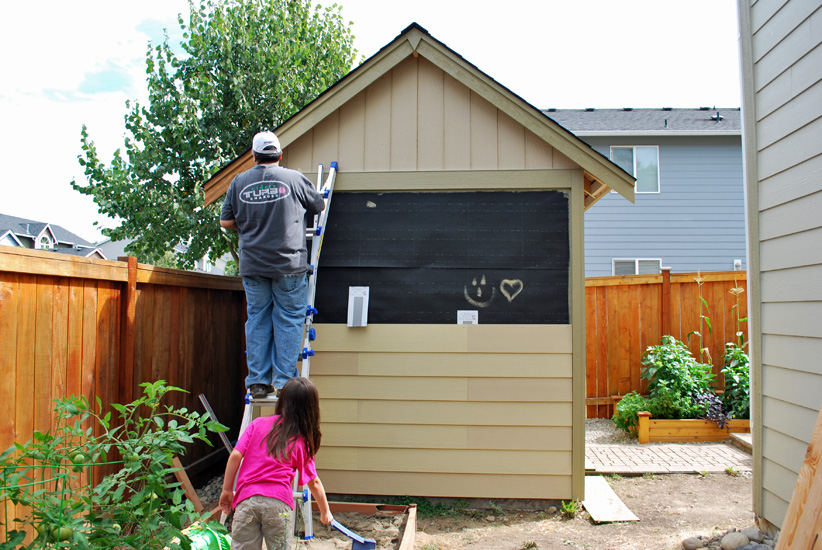
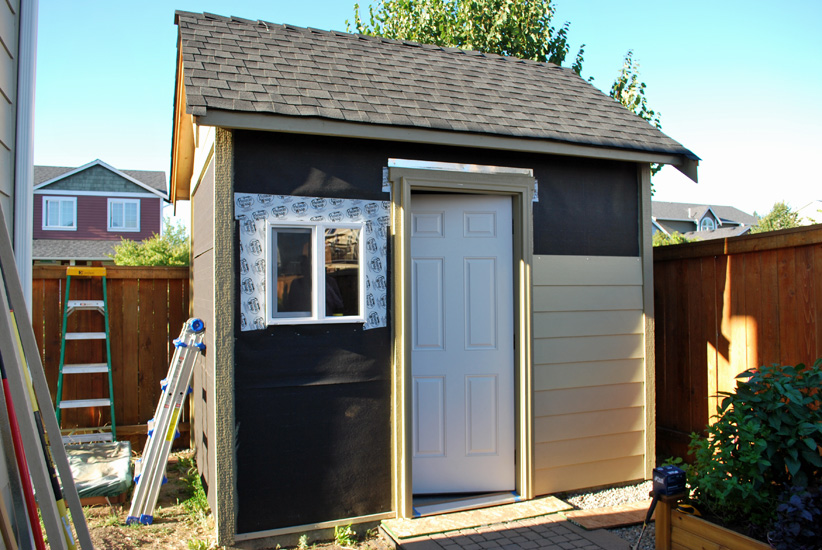
 Working on the west end wall. He’s gotten more finished along the front and so we have moved to the west side to begin the siding there. No extra cuts, let’s just get the siding up!
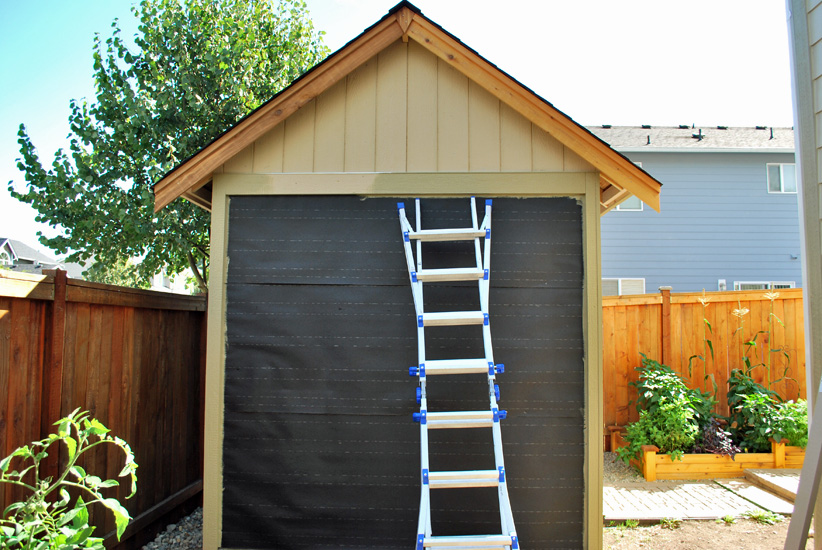
In order for the siding to be under warranty we HAD to add the plastic sheets (can bee seen in the above photo).
The sheet sticks/staples to the wall and overlaps the lower board. The sheet is placed in line with the seams, if the seam should happen to separate, the plastic sheet protects against water damage by channeling the water down and away from the wall. Supposedly.
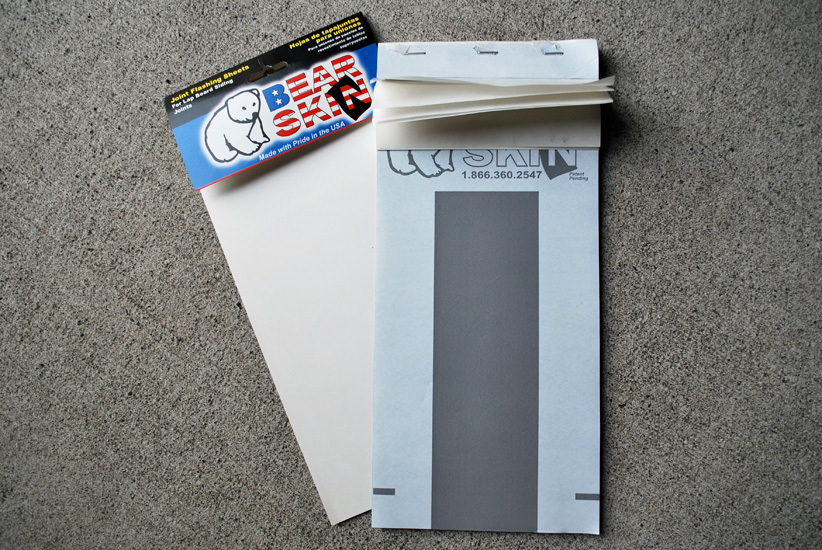
Flashing sheets for our siding.
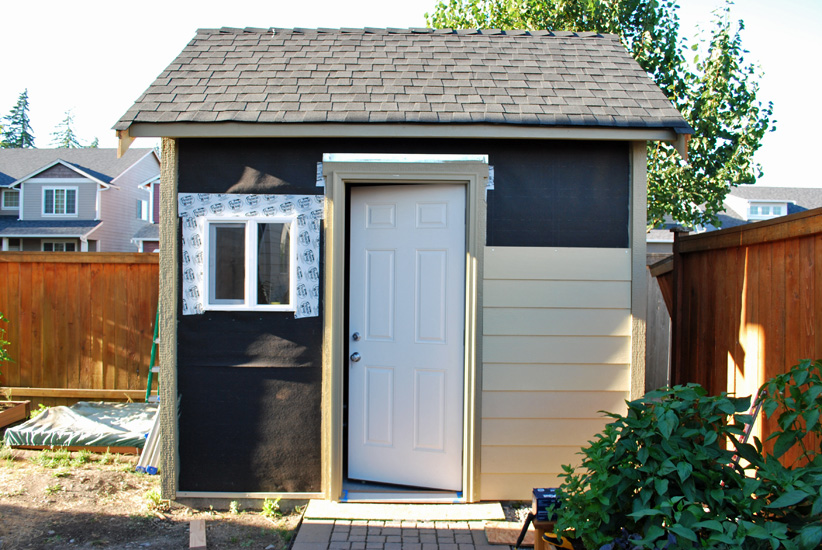
 Front view looking North. He got the window trimmed out with flashing across the top.
I told Gino it looks more like a fancy playhouse then a shed!
Tonight after work Gino went out to begin working on the siding on the shed.
He started with the front and got quite a bit done before finishing up for the evening.
The siding is going up!
Looking Northeast.
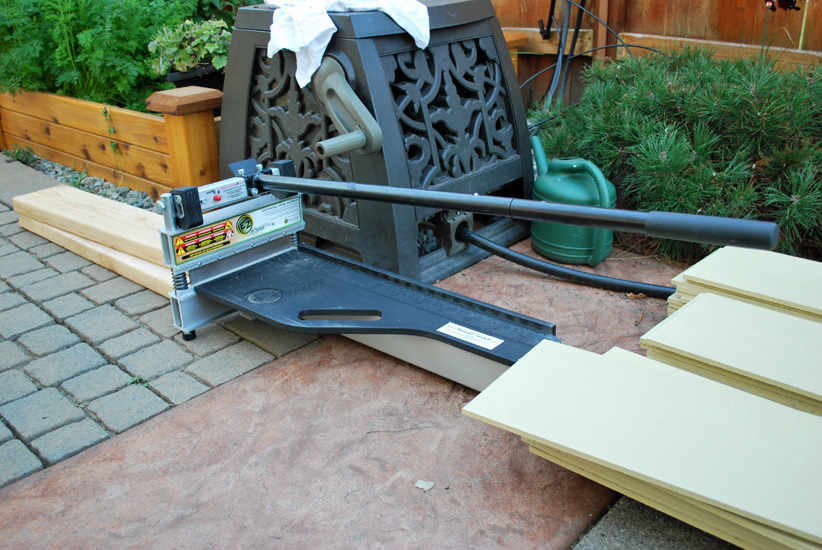
To cut the siding, Gino got this giant paper-cutter type machine, called a siding shear.
Super easy to use, Isabel and I can do it! Makes the cement siding cut like butter!
 Finished for the night he got all the non-measured cuts done on the front.
I’m still working on getting our vacation photos sized and on the blog. I have been busy this week. I had a school workshop to attend yesterday and next week I have 2 meetings before school begins on the 4th. So I’ve been busy and with school starting I’ll be even busier!
Today Isabel spent the afternoon working very hard on some bookmarks for us all (she even made one for Daisy!).
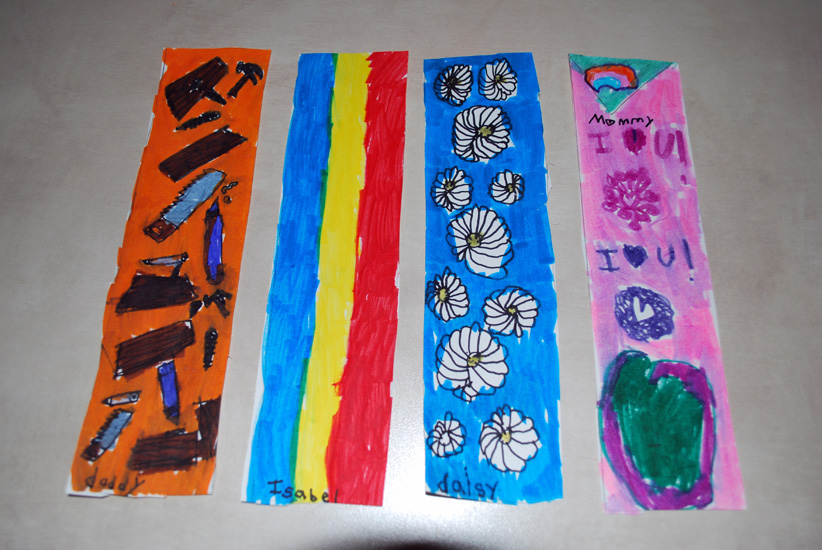
She used a regular bookmark to trace on her plain white paper
and then went to work making her artwork.
I love them all! The one for Daddy is awesome! She worked hard at getting the tools just so.
I later laminated them, so we could keep them forever!
We are back from vacation and are ready to get our shed project finished.
This week Gino got the door, handle, and lock installed. While I got more of the trim painted.

Door installed.
Trim painted by me.
He also finished the east end wall above the siding area.
I need to finish some painting on this end and then I’m finished with painting trim.
There are some areas where I will need to touch up.
Gino will finish the trim along the roof line, since I am not that secure on a ladder.
After dinner and PIE, at Beckie’s Cafe along Highway 62, we headed over to a trail head just north of there.
Rogue Gorge trail head.
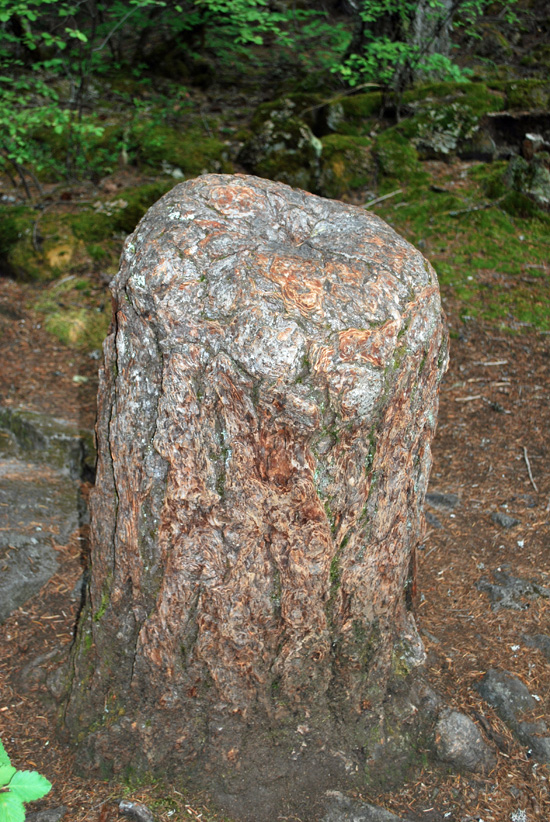
Have you ever seen a stump like this?
Most stump’s we’ve seen have been smooth.
The living stump from the above photo.
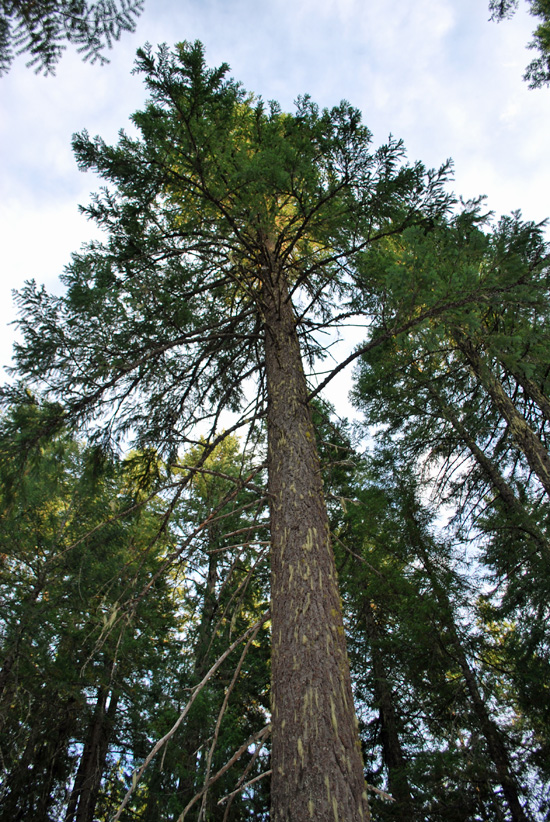
The tree that “feeds” the stump, goes up and up and up!
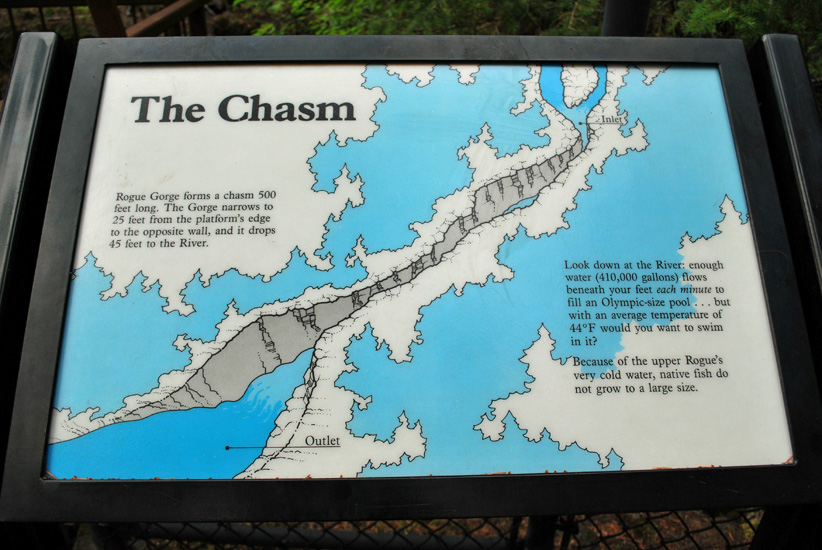
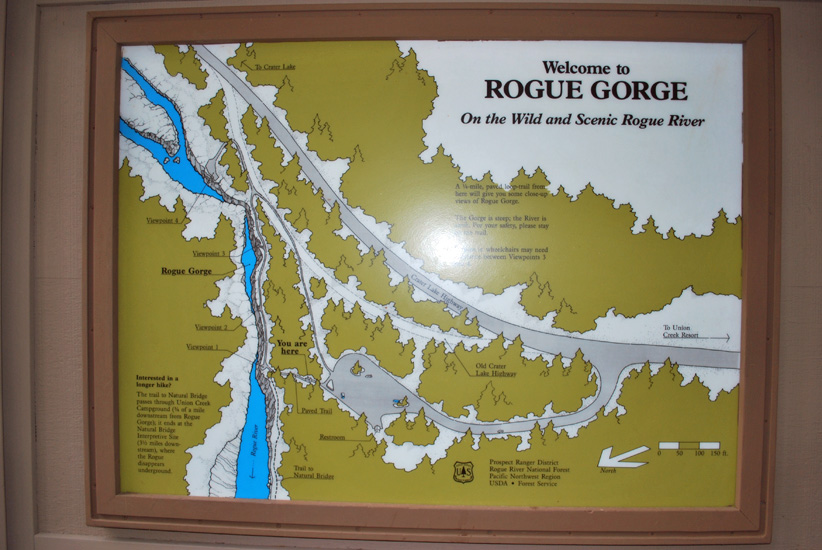
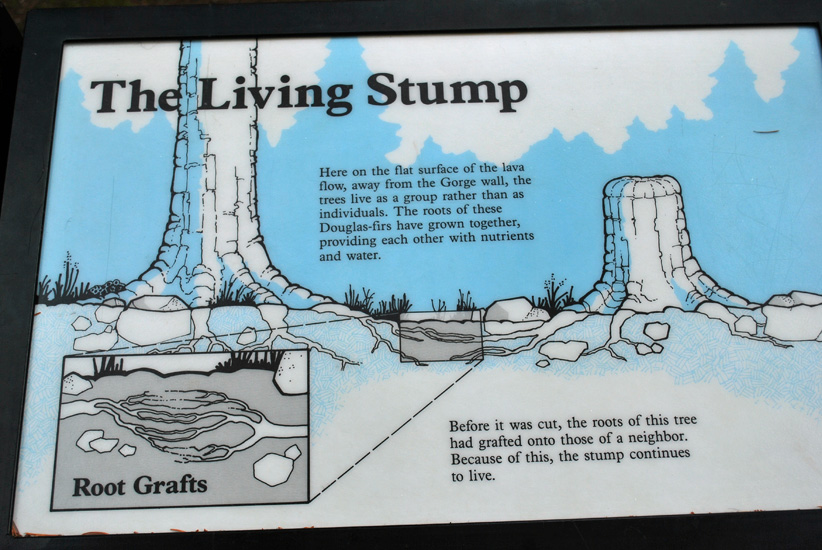
Learning about the Rogue River Gorge/Chasm.
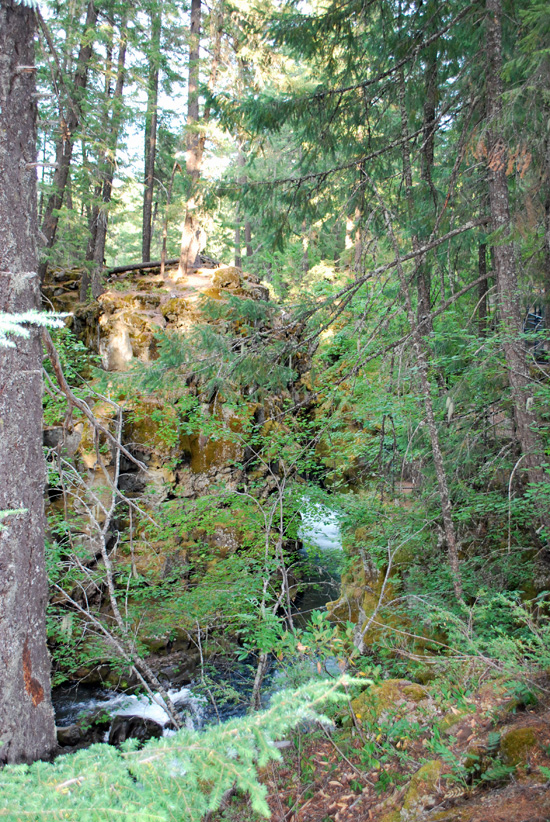
Can you see it through the trees.
A very pretty area but hard to see with all the foliage in the way.

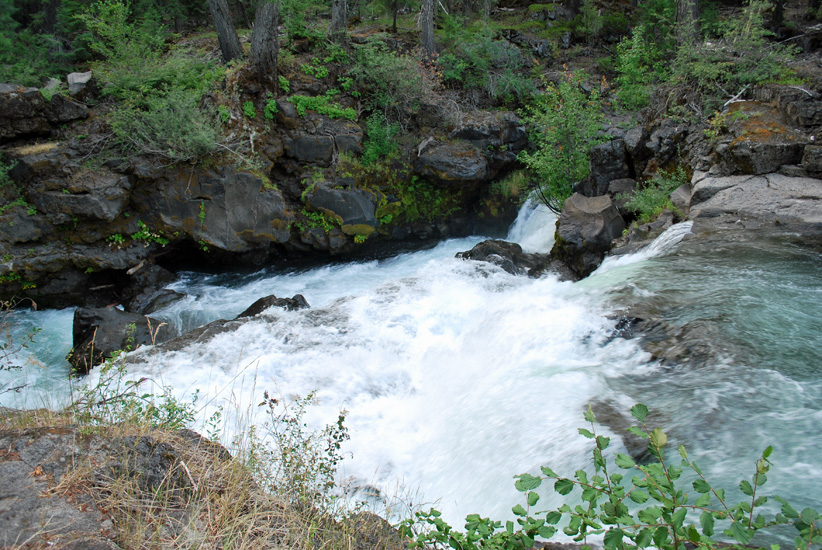
Lava tubes just like the “natural bridge” we went to see this morning.
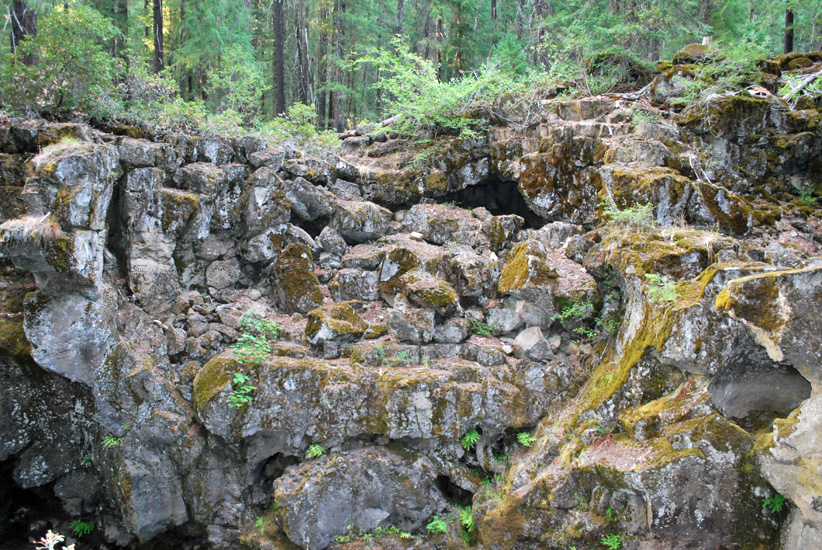
The lava tubes that are mentioned in the sign above.
This area was very cool to see in person.
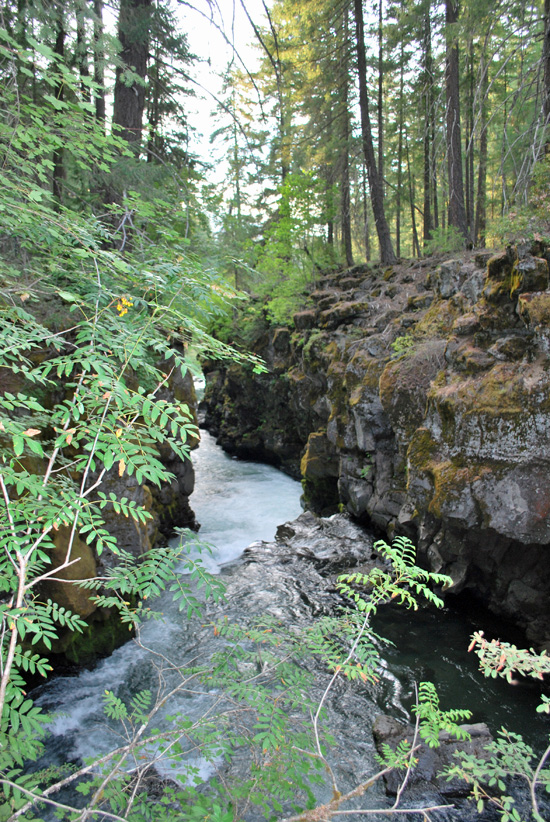
Looking down stream into part of the gorge.
Looking upstream.
So pretty and the sound of the water was so peaceful to hear.
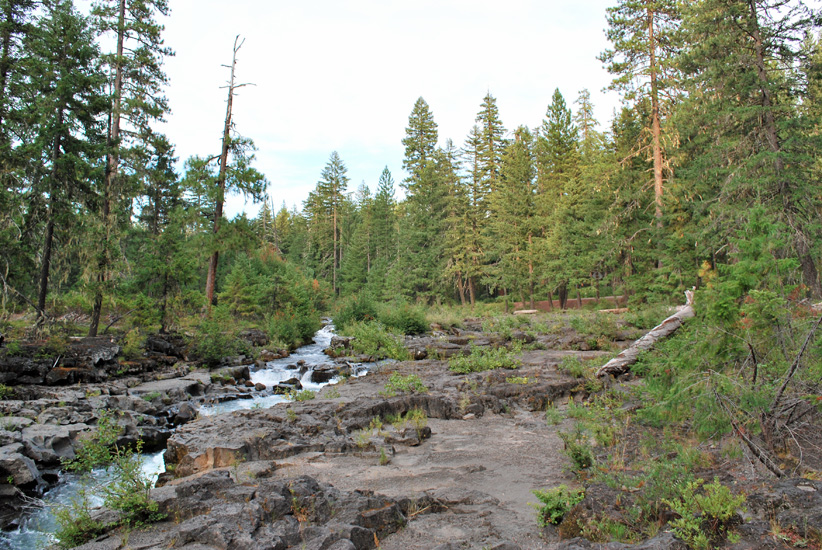
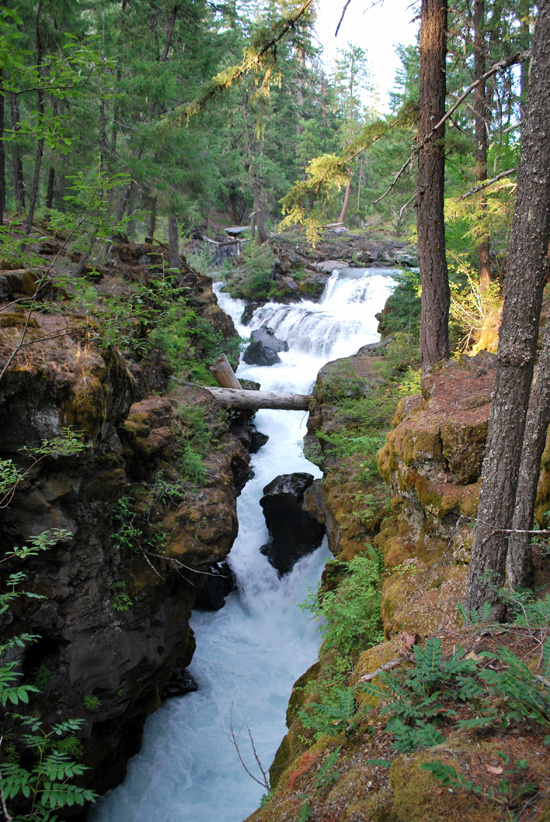
The uppermost area before the gorge/chasm.
Before heading into the gorge/chasm the water cascades down.
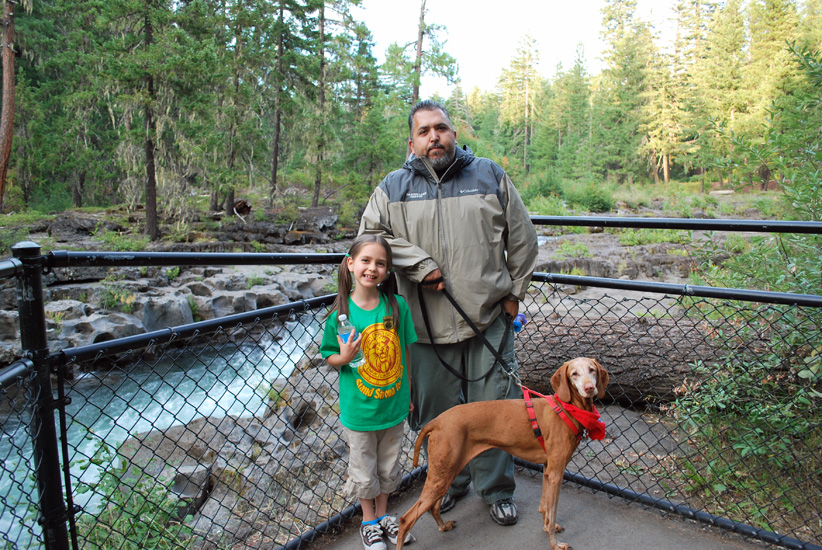 Feeling better after we finally got something to eat.
We have had a busy busy day! Looking forward to some fishing a bit later…