The path less traveled – part II

Paver project – Day 3:
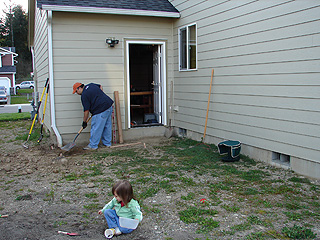
The day was a bit of a disappointment, but that’s the weather in the Pacific Northwest! Gino ended up working outside by himself in the pouring rain. We purchased 3 truck loads of a gravel/sand mix and then rented a compactor to compress the mix between the 3 loads.

paverpathday3_1.jpg
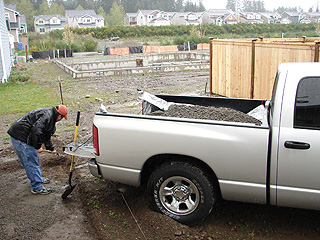
Load 1 of gravel/sand mix.

paverpathday3_2.jpg
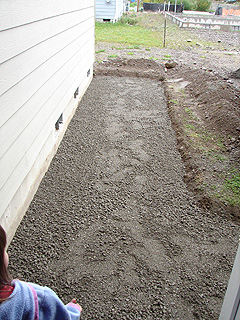
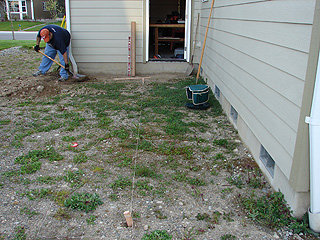
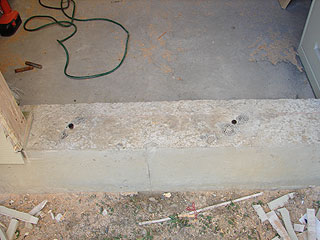
Gravel/sand mix before being compacted.

paverpathday3_3.jpg
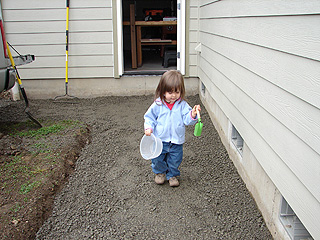
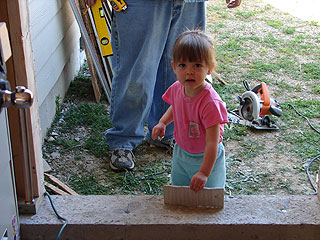
There was a slight break in the rain so Isabel is helping daddy “compact” gravel/sand mix.

paverpathday3_4.jpg
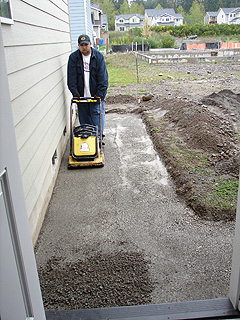
Compacting in progress!

paverpathday3_5.jpg
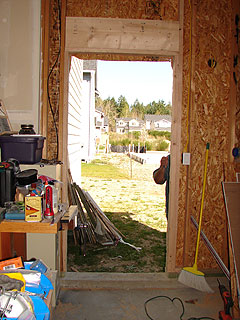
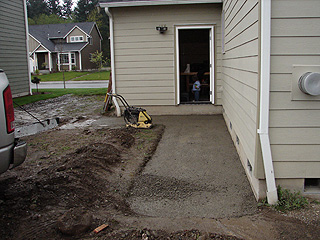
Works so good it looks like concrete!

paverpathday3_6.jpg
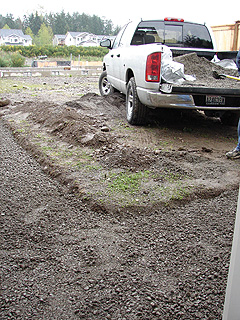
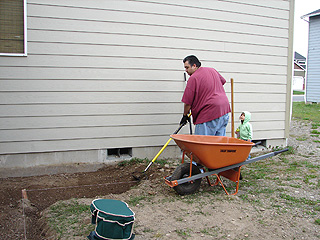
Load 2 of gravel/sand mix.

paverpathday3_7.jpg

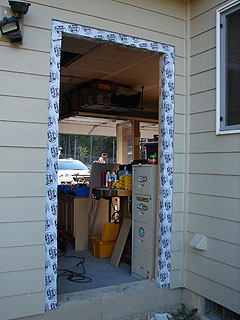
Both loads of gravel/sand mix compacted and complete.
Let’s see what happens tomorrow…

The path less traveled – part I

Paver Project – Day 1:
So we have our new door (B.T.W. – Gino did an awesome job!) and now we need a walkway, so we aren’t walking in the mud. Therefore the paver project begins. Some might ask, “Why pavers and not concrete?” Because concrete takes to long to dig out (if you want to do something different later down the road) and pavers you just lift them up and move. No back breaking work there and other reasons too but we won’t go into that…

paverpathday1_1.jpg
Gino went out after dinner and began the back breaking job of digging out all the rock to make a nice sloped level base. He dug 6 inches down and 4 feet away from the house and 30 feet long of pathway.

paverpathday1_2.jpg
He didn’t get finished this first night.

Paver Project – Day 2:
Since it’s a work day, Gino again headed out after dinner. He actually got all the foundation digging finished this night of the paver project.

paverpathday2_1.jpg
Rounded the corner and working toward the back corner of the house.
Almost there!

paverpathday2_3.jpg
Isabel just loves playing out here and getting dirty! It was very chilly this day with a breeze, so I made her wear a hood. She didn’t mind and it kept her hair outta her face too.

Project Beginnings

As I was getting the door installation blog together, I ran into some photos from just 8 months ago that I thought would be nice to share. You can really get a better understanding of how it’s changed in just that short time. Enjoy!

projectbeginnings1.jpg

This was taken back in August 2007. We began by raking all the rocks up in the backyard and Isabel even did her part, carrying little rocks and just playing in the dirt.

projectbeginnings2.jpg

This is just one month later, in September, still working on the rocks in the yard. I think Isabel must be eating them because that mouth is dirty!

projectbeginnings3.jpg

This isn’t actually working on a “project” for the house but you get a better sense of the changes when you see how she looks today.

Door Installation

This door installation is located in our garage. Gino had a contractor guy come out to do an estimate on the project and the guy told Gino that it would take him $1,100.00 to do! Gino said, no thanks, I’ll do it myself and this is how it goes…

doorinstall1.jpg
The cutout doorway.

doorinstall2.jpg
Anchor bolts that needed to be cut away.

doorinstall3.jpg
Marking for doorway trim cutout.

doorinstall4.jpg
Daddy’s little helper. (Isabel loves to help)

doorinstall5.jpg
This wood round is leftover from the light installation that we had done back in January. She likes this piece of wood so much; that it’s been brought into the house and she even wanted to sleep with it today at nap time!

doorinstall6.jpg
Doorway ready for trim.

doorinstall7.jpg
Unpainted trim work.

doorinstall8.jpg
Painted trim work.

doorinstall9.jpg
Door packaging removal.

doorinstall10.jpg
Door installed…well sort of.

doorinstall11.jpg
Door leveling and shim installation.
(I’ll have to go out and take a photo of the completed project.)
My hubby did a fantastic job! :o)

Project: WoodChuck

Project “WoodChuck” is in full swing. I’ve been working tirelessly through nights and weekends trying to finish the woodworking shop at the new house. So far the only things I can check off the list is electrical and insulation. Drywall is about 40% finished and I’m hoping to have the rear door framed out and installed this weekend. It’s coming together… slowly, but surely.

Once complete I have a long list of projects including a kitchen island, table and chairs for Isabel, and cabinets for the laundry room. Over the next few months I’ll be working to post past woodworking projects on my personal blog (http://blog.gspin.com/).