Project: Kitchen Lights

Now that he’s got the hallway completed it’s time to do the kitchen. We’ve been living in the dark for so long it’s time for an upgrade! I’m really excited to see how this project turns out.

2015-03-22 004_edited-1

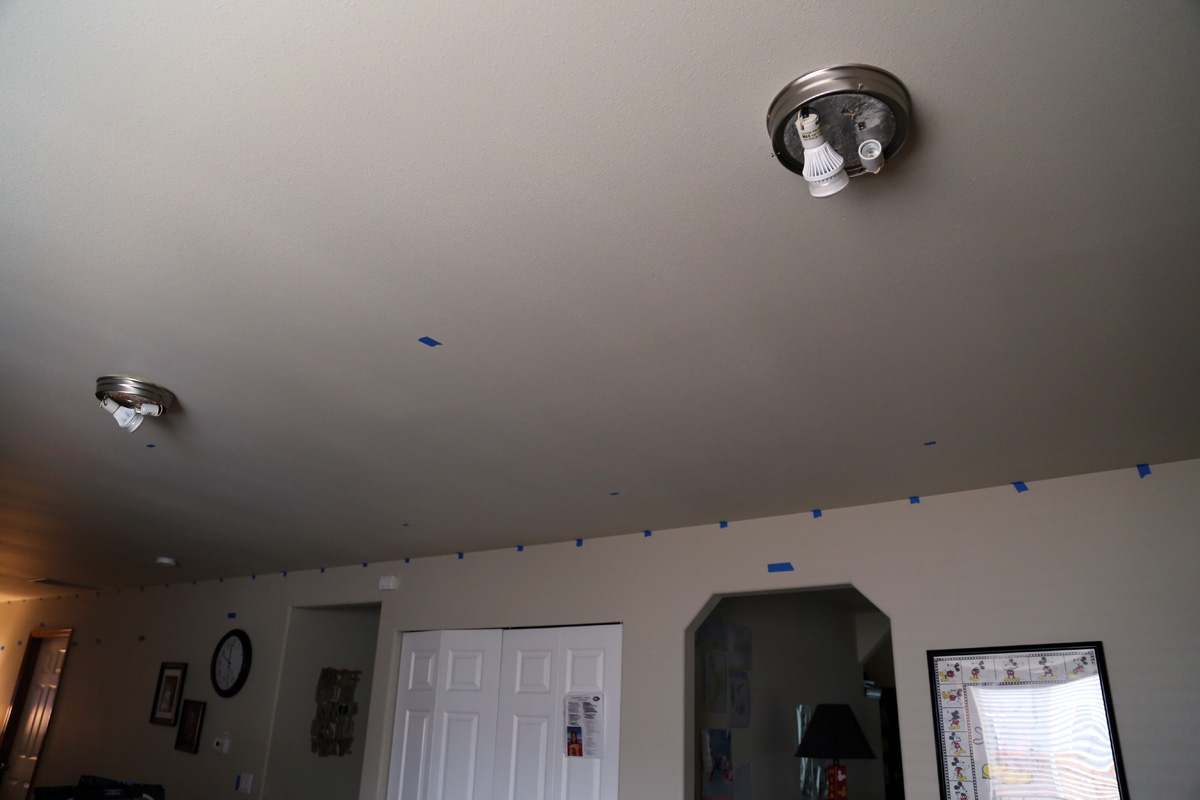
Look at all that tape!

The tape is the location of a floor joist, where a new light will be, exhaust vent and where duct work is located. That tape is three days of work. He’s been moving the location of the lights for 2 of those days. Last night he said he has the location set and it’s time to drill. This is getting exciting!

2015-03-22 005_edited-1

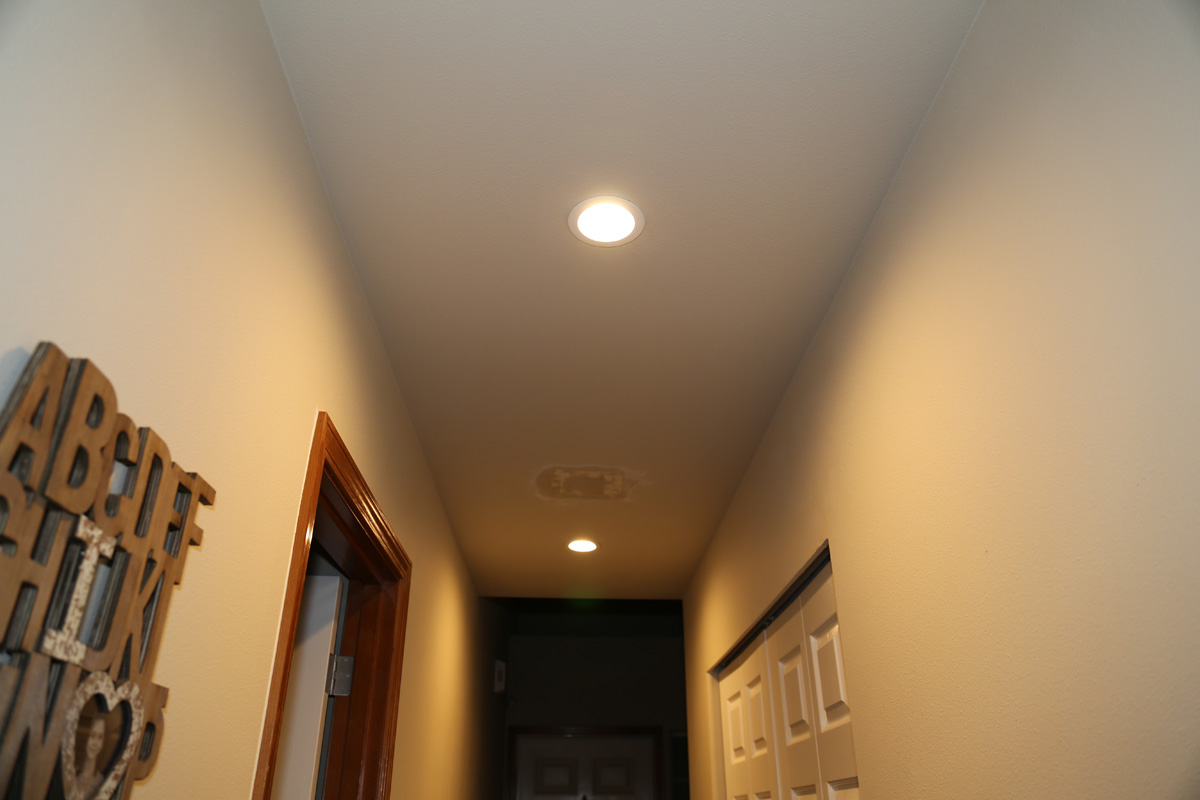
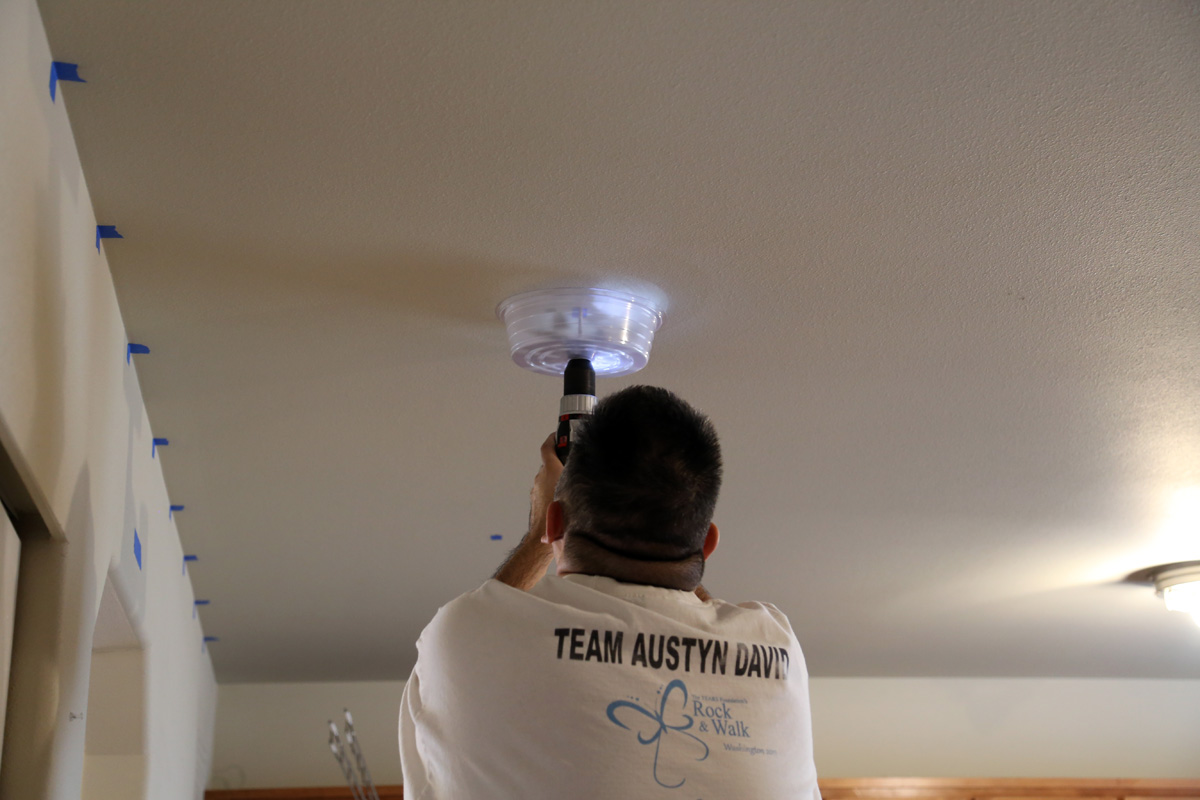
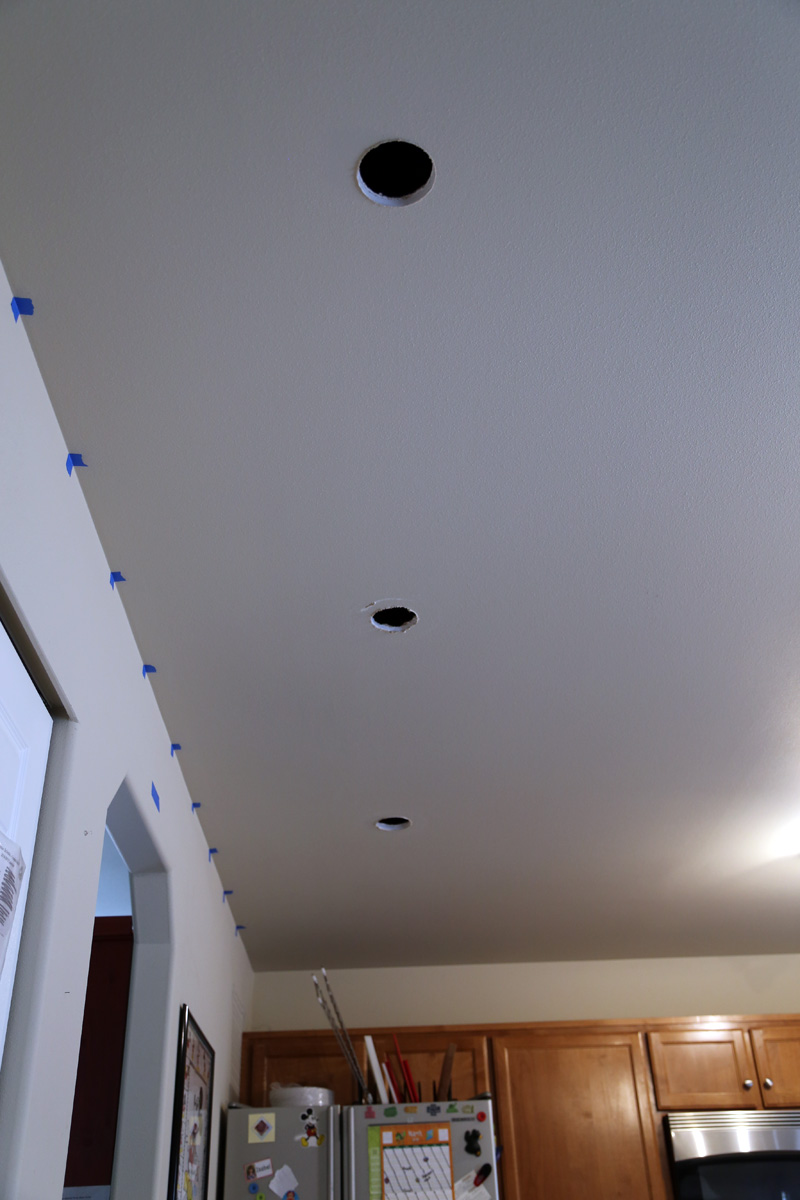
The position of the new lights is a bit off in this photo. I tried to get it centered but didn’t.
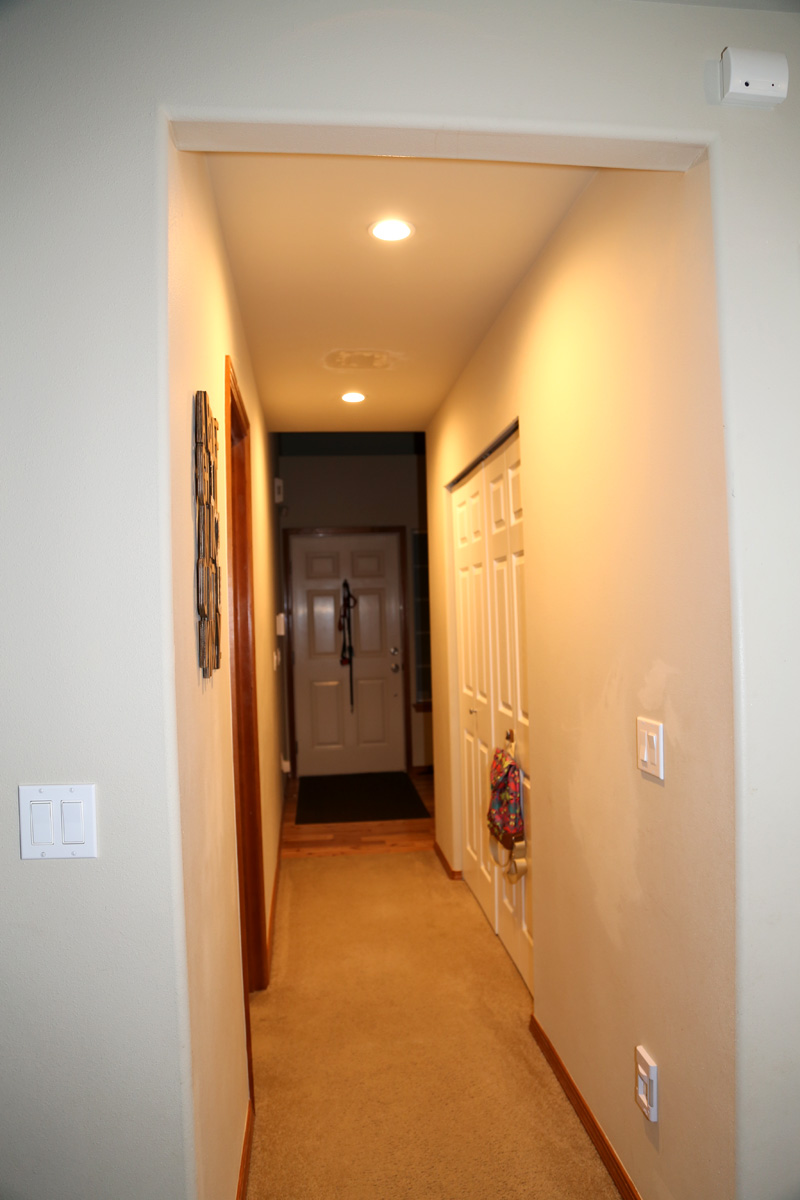
Also the cut out on the wall is a new switch plate for the new lights.

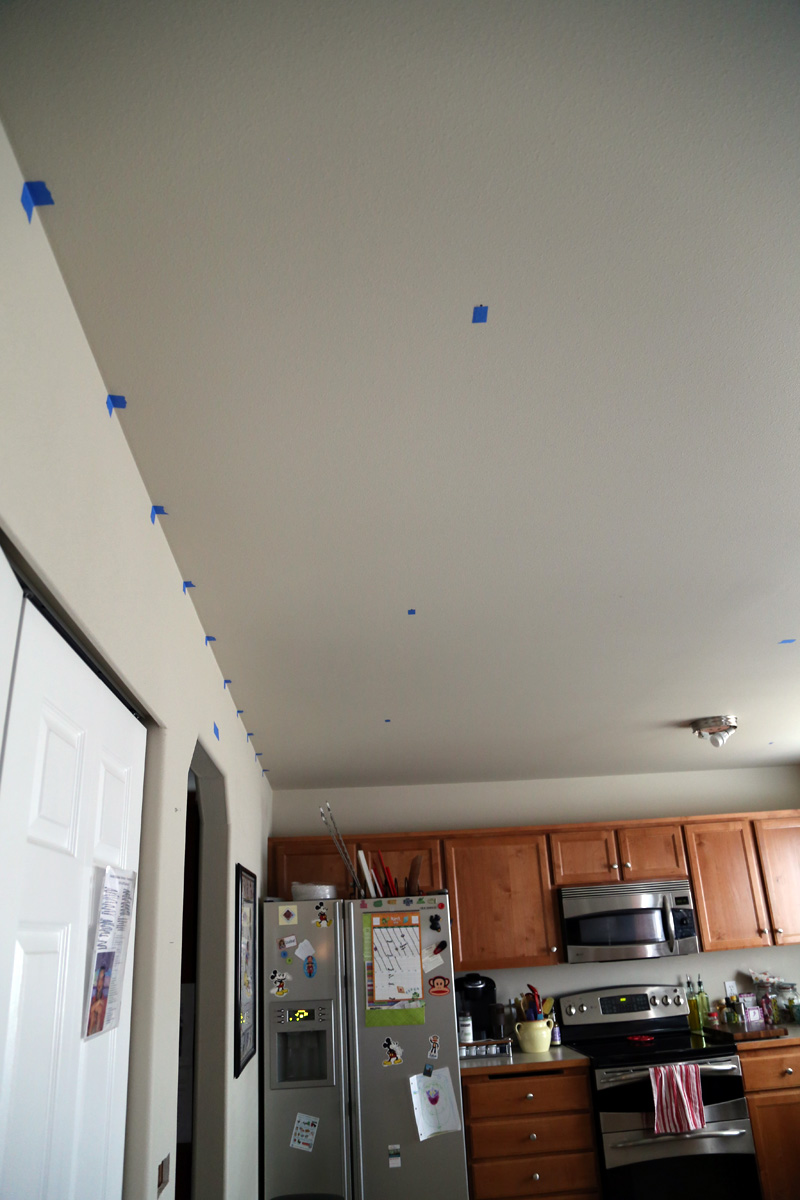
The above lights will be in a walk-way between the refrigerator, island (new) and the pantry (left side, white doors).

2015-03-22 007_edited-1

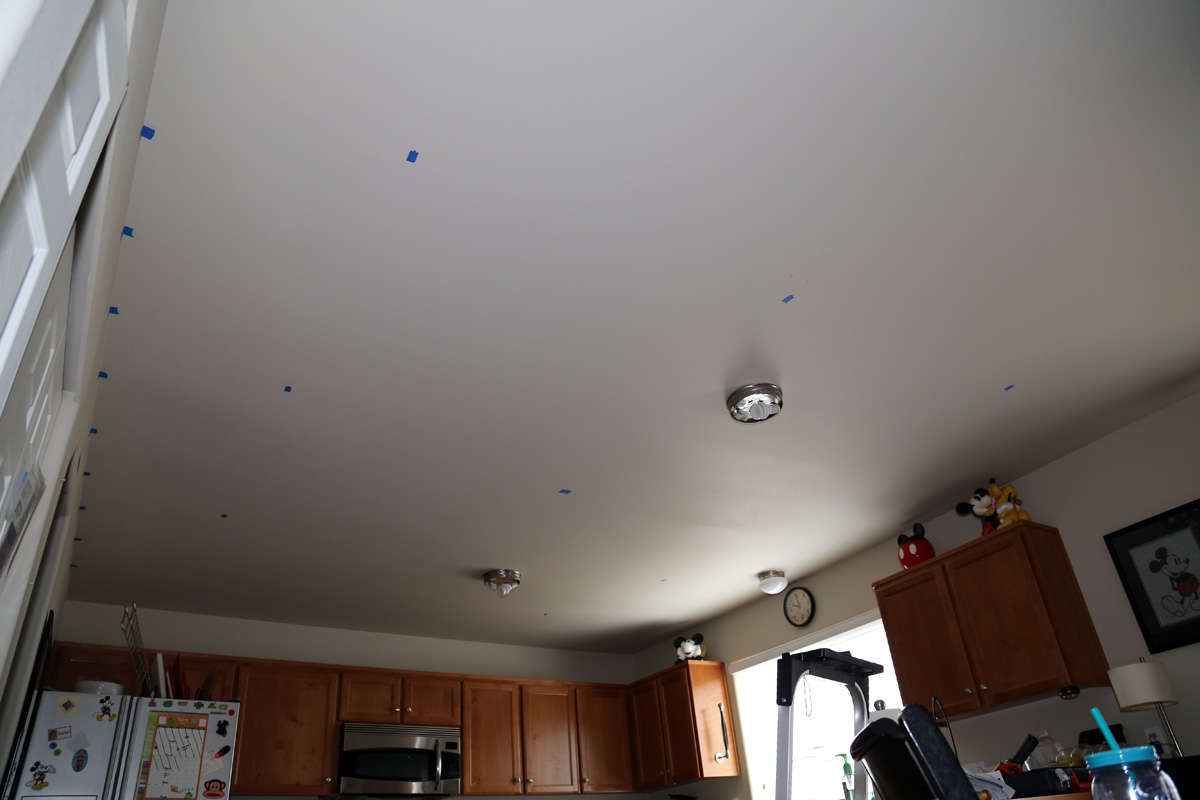
Location of all the new lights in the kitchen.
When all the holes are drilled I will take another photo.

2015-03-22 015_edited-1

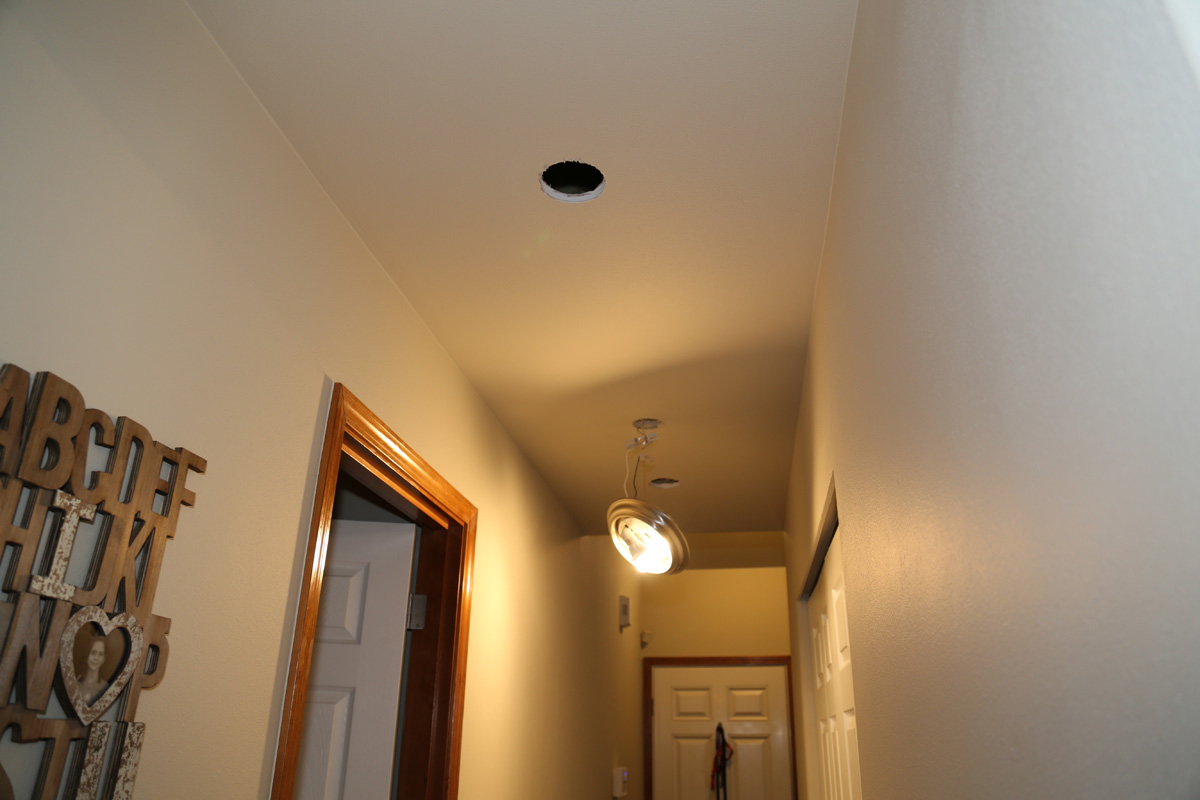
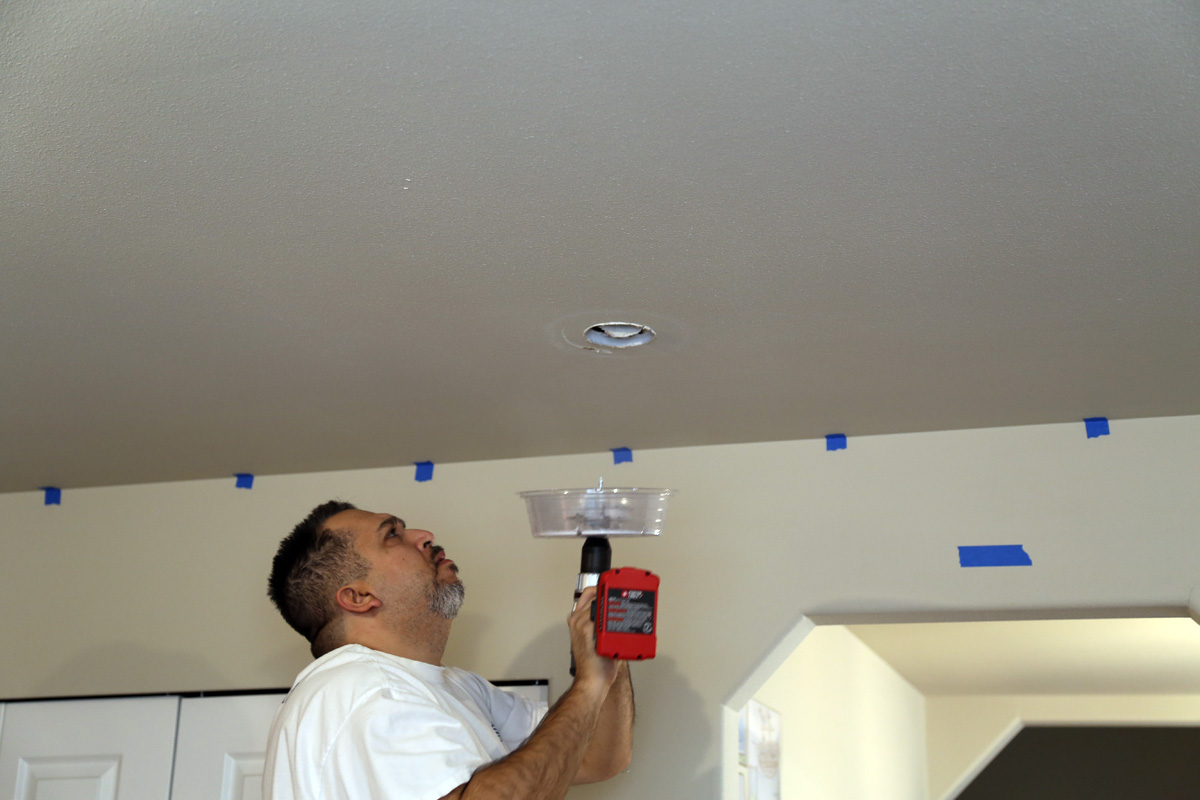
The first hole being cut.

2015-03-22 021_edited-1

Uh, Oops, that’s not supposed to happen!
The “foot” of the blade gouged the drywall. Will need to be repaired.

2015-03-22 023_edited-1

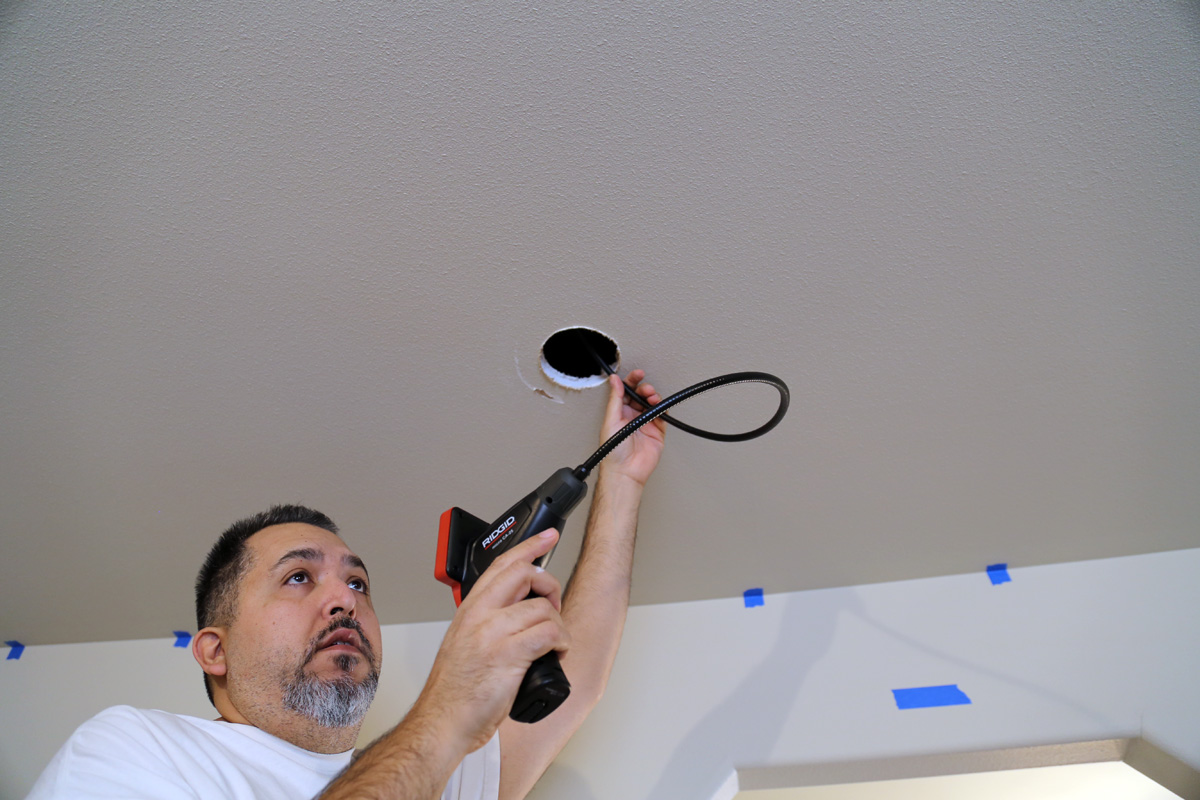
Looking in the hole with his new camera, which has been very handy this whole process.

2015-03-22 027_edited-1

Three holes completed and several more to go before the wiring can begin.
The spacing looks off in this photo too. Will really try next time to get it better.

2015-03-22 029_edited-1

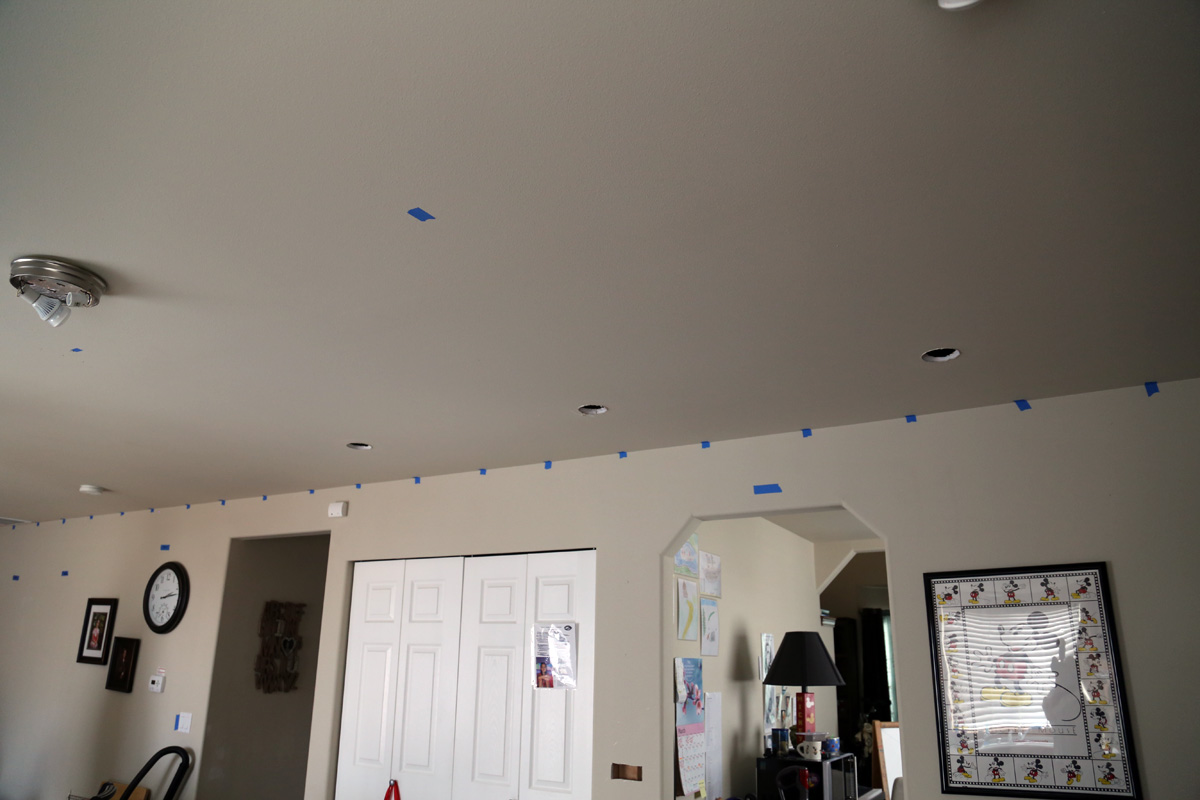
Looking westward at the new light holes.

Later this evening…
(with the power down)

2015-03-22 078_edited-1

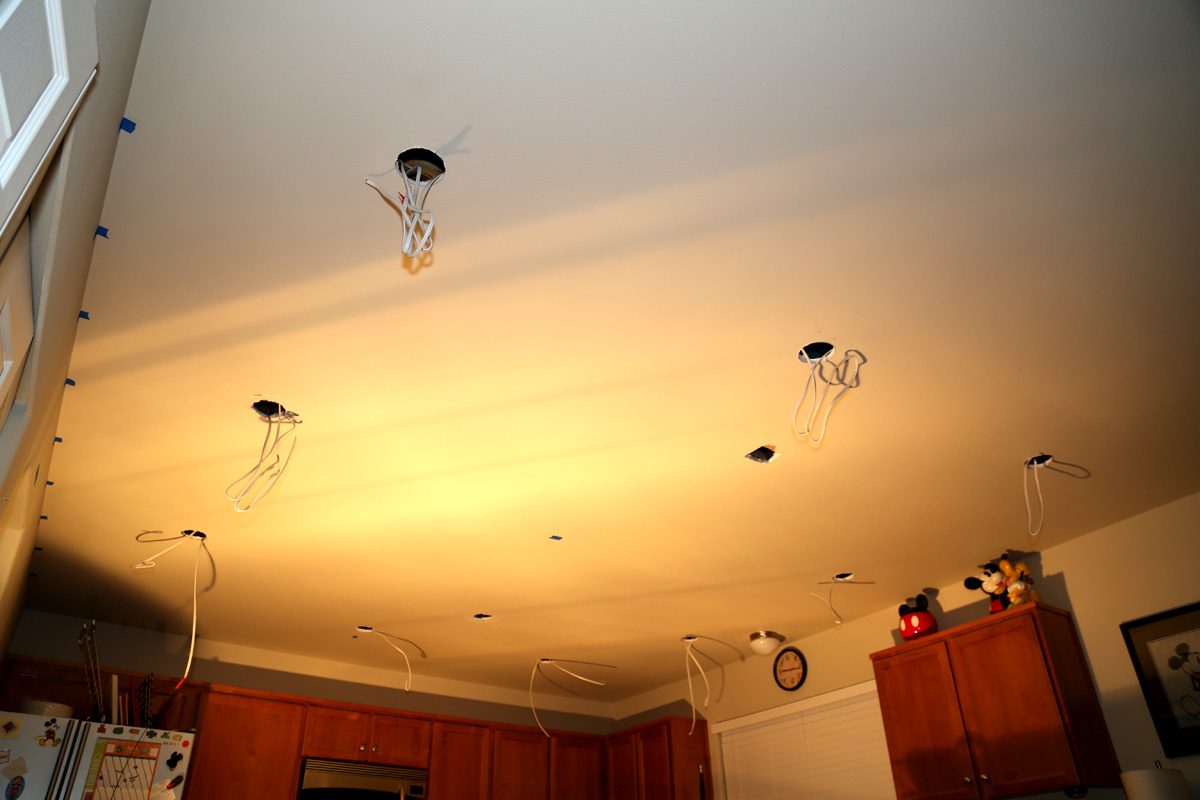
Just after Isabel went to bed, Gino got all the wire pushed through for each new light.
The 2 holes where the old lights were located will be patched and covered over.

2015-03-22 079_edited-1

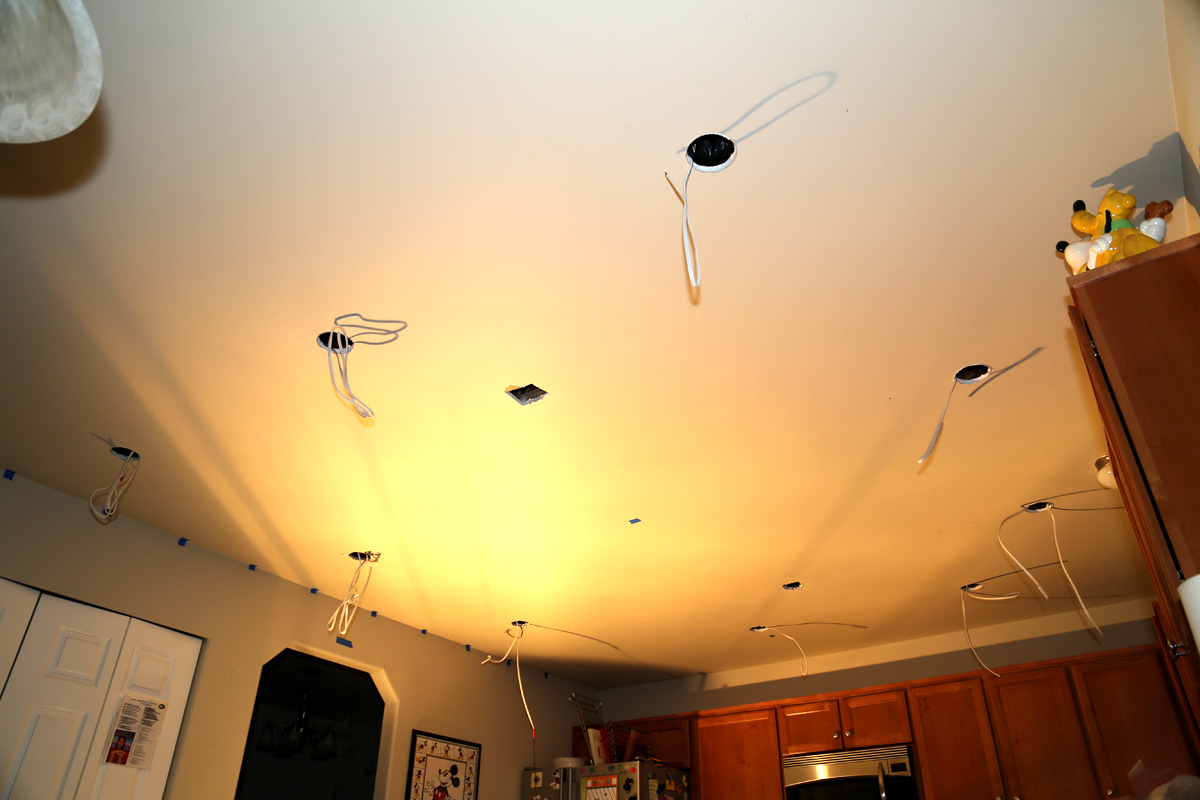
Looking north-west, kitchen light placement looks great.
Tomorrow he will add the canister’s and we’ll get the lights and switch the power back on!

Project: Hallway Lights

Today Gino started an indoor project that we’ve been talking about doing for years, adding recessed lighting to our home!

He started with our dark main floor hallway.

2015-03-15 003_edited-1

Measuring 2 before cutting once.

2015-03-15 005_edited-1

4-inch circle for the canister.

2015-03-15 008_edited-1

The first hole is complete.

2015-03-15 014_edited-1

Measuring the location for the second light.

2015-03-15 021_edited-1

The 2 recessed lights will be equal distance from both ends of the hallway.

2015-03-15 036_edited-1

The canister’s are in, the wiring is complete and the bulbs are in.

Looks so great!

2015-03-15 037_edited-1

This hallway has never seen this much light in winter.
(during the summer months sunlight streams down the hall from the front 2-story window)

Thank you, Gino for the new lights. Can’t wait for all the other ones in the kitchen/dining and living areas!

New Credenza – Part 2

We haven’t been able to work on the new credenza but tonight we were able to. We stripped the drawer fronts and got the credenza top stripped as well.

2015-01-24 001_edited-1

Drawers waiting to be stripped.

2015-01-24 002_edited-1

2 of the 9 drawers to be stripped.

The stripper works well for getting the rolled paint off but getting the old stain underneath is going to take some work. Gino has purchased what he will need, so hopefully on a good weather weekend we can really get to work on this project. I’m still super excited about seeing this completed and have it’s new home ready for when it’s complete.

2015-01-24 003_edited-1

3 drawers Gino stripped last night but I didn’t get photos.

2015-01-24 005_edited-1

Close-up of the already stripped drawer face.

2015-01-24 009_edited-1

1 of the 2 credenza doors.

2015-01-24 011_edited-1

Close-up of the hinge on one of the doors.

2015-01-24 016_edited-1

The inside beams (where the drawer sits) were spray painted while the whole outside was painted with a roller.

New Credenza – Part 1

While we were out shopping for bargains today, Gino spotted this “diamond in the rough” black credenza at the local thrift store for $24.00. Upon closer inspection, he had me confidence that with a bit of elbow grease, it would work for what I was looking for and it was all wood.

It measures 5 feet 6 inches long and is 2 feet 7 1/2 inches high and has 9 drawers. It’s big and it’s ugly but we can see it has beauty under all that black paint!

o [] o [] o [] o [] o [] o [] o [] o [] o [] o

2015-01-03 001_edited-1

Whomever painted it didn’t do a very good job (makes our job easier!)
and with just a scratch of your fingernail the paint comes off.

The front corner paint, along the top, was removed by Gino. He applied some citrus remove for about 30 minutes and it removed the black paint with no problem.

o [] o [] o [] o [] o [] o [] o [] o [] o [] o

2015-01-03 003_edited-1

Opening the middle doors exposes more drawers with painted fronts, just like the side drawers.

o [] o [] o [] o [] o [] o [] o [] o [] o [] o

2015-01-03 005_edited-1

A close up look at the treated spot, reveals a beautiful wood of either oak or mahogany
but he’s leaning more toward the mahogany.

o [] o [] o [] o [] o [] o [] o [] o [] o [] o

I’m excited for this new project!

I had just mentioned to Gino 30 minutes earlier in the day, that the only thing I really needed was a piece of furniture for all my table linens and such. We’ve actually been looking for something for several months but haven’t liked any of the pieces we’ve seen. I’m convinced that furniture stores aren’t selling furniture. It’s all particle board and veneer junk. I don’t want that!

This piece is what I’ve been waiting for! Like Gino said, with a bit of elbow grease and new knobs this piece is going to look great, stained or painted, in our dining room.

The Lord answered in a BIG way! Thank You!

Number 8 Is The Winner

So a few months back, I got this awesome new wall art piece that I have been deciding on where to hang and I finally made up my mind to hang it in the front room. Surrounded by my crosses…

<>< o <>< o <>< o <>< o <>< o <>< o <><

My first task was to trace all 19 of my crosses onto poster board. This was fun to do and was an awesome sight to see each outline on paper (I’ll be keeping the paper crosses for the future).

I then needed to cut out the outline crosses which was harder than it sounds. All those curls and curves with the thick poster board was hard on my hands! I tried using a utility knife but the one I used tore the paper, so I went back to using the scissors. I eventually got them all cut out and then spent 1 whole day moving things around on the wall to see about placement around my new wall art piece.

As I worked I took pictures to see how each little movement looked before I said it was perfect.
BTW – the blue square represents my new wall art piece, you’ll get to see that later!

It was a process but it looks awesome!


2015-01-02 001_edited-1

Layout number 1  – I like this but it seems a bit crowded for this large wall space.

2015-01-02 003_edited-1

Layout number 2 – this is better but the cross behind the light is still hidden.

2015-01-02 004_edited-1

Layout number 3 – I moved smaller crosses around and larger ones from one side to the other.

2015-01-02 005_edited-1

Layout number 4 – those smaller crosses are just hard to fit in to the whole picture.

2015-01-02 006_edited-1

Layout number 5 – at this point I’m beginning to see the end but I need to trace my largest cross and it requires 2 sheets of poster board.

So I’ll trace that, take a break and think some things through about placement.

2015-01-02 010_edited-1

Layout number 6 – got the largest cross cut out (far left top) and it was not easy or pretty.
The layout is looking a lot better but I need a second opinion or two…

2015-01-02 011_edited-1

Layout number 7 – Gino advises that the lowest cross is to low and I agree after some more thought.
It’s new home is along the top.

2015-01-02 014_edited-1

Layout number 8 – is the winning layout!
I have extra space under my new wall art piece to add to my collection!

It’s time to sit back and view the winning layout and think about this before I start pounding in all those nails. So I’ll ponder for a day and be back… I really do think I like this.

Back At Home

We are back home after our Thanksgiving vacation to Utah. We arrived on Tuesday evening, December 2nd, around 7 p.m.

We had a fantastic time seeing family, being in warmer temperatures and relaxing. Always good for the soul to see all those you love the most.

HeartandHome_2014-001_edited-1


I will be posting photos and blogging from the trip over the next week. I hope to have it finished by then. Bare with me as I try to get back in the groove of things.