Project: Storage Shed – Part 18

Let’s take a quick look inside to see what’s going on in there.

2013-09-07 002_edited-1

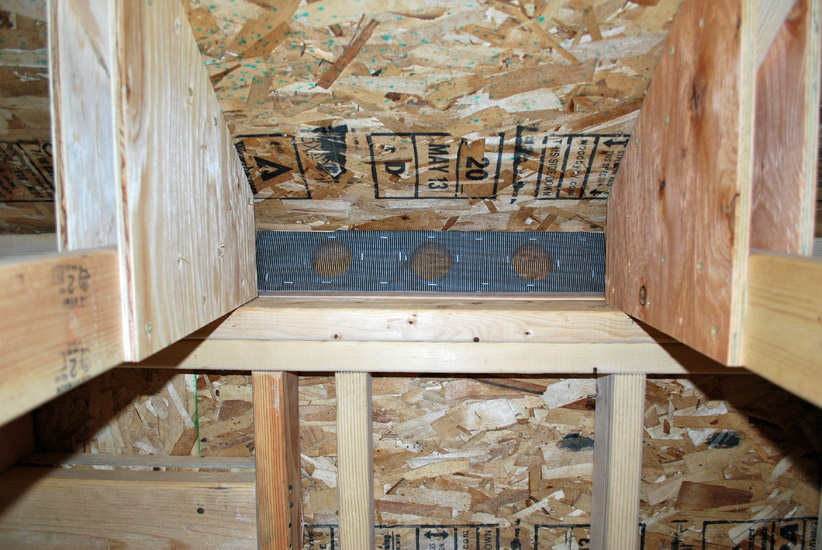
Inside view of the south wall vents.
Similar to the house vents that run along the underside of the eaves.

2013-09-07 003_edited-1

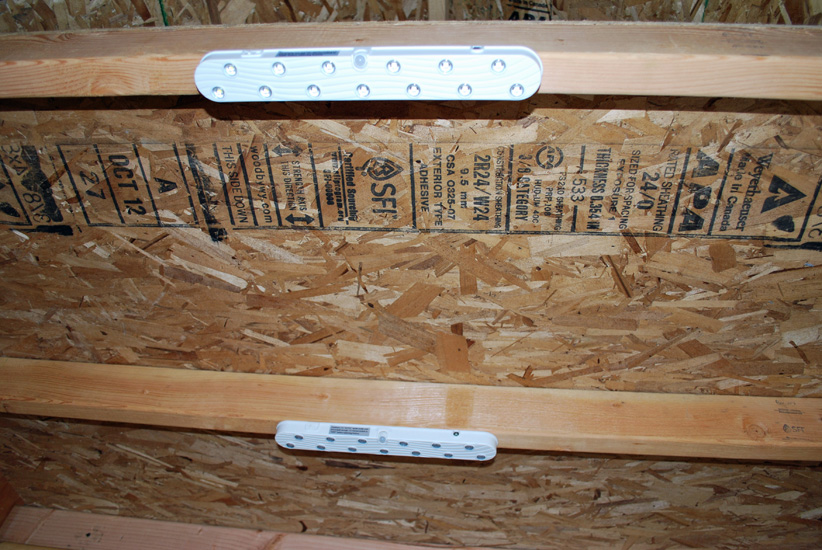
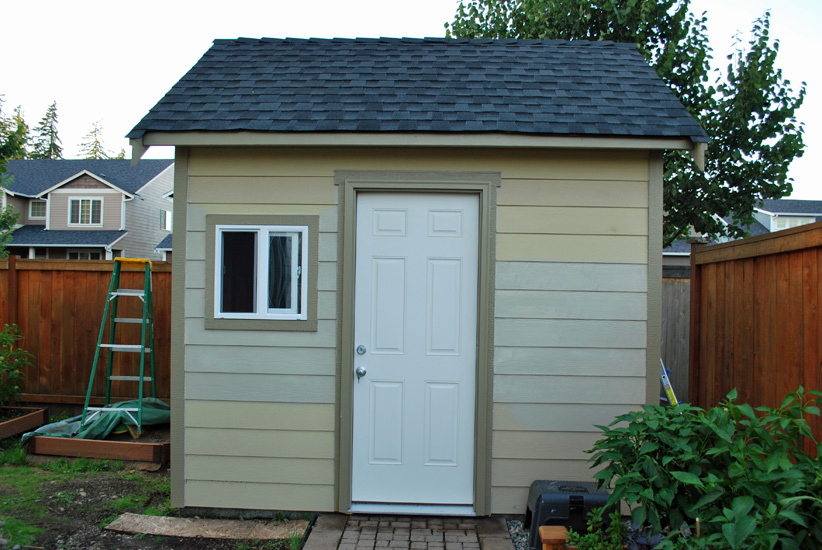
Purchased these battery powered motion activated LED lights.
Two on the east side…

2013-09-07 004_edited-1

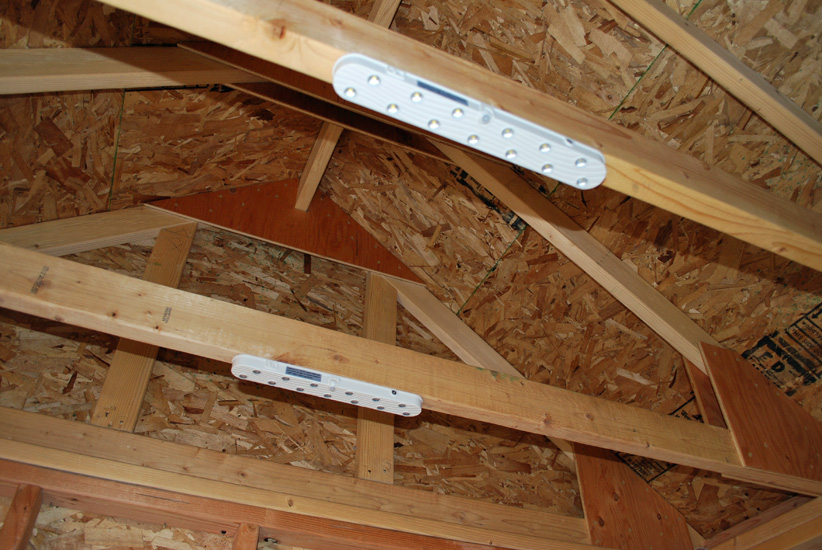
Two on the west side.
These lights light up the area nicely at night.

2013-09-07 005_edited-1

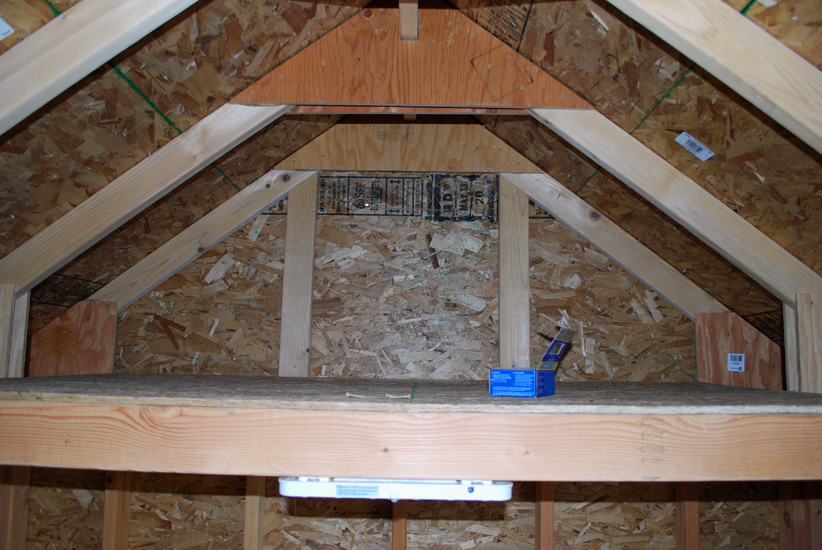
Climb up the ladder and you can see the awesome loft storage area on the east end.
This area will be used to store all our patio furniture cushions!
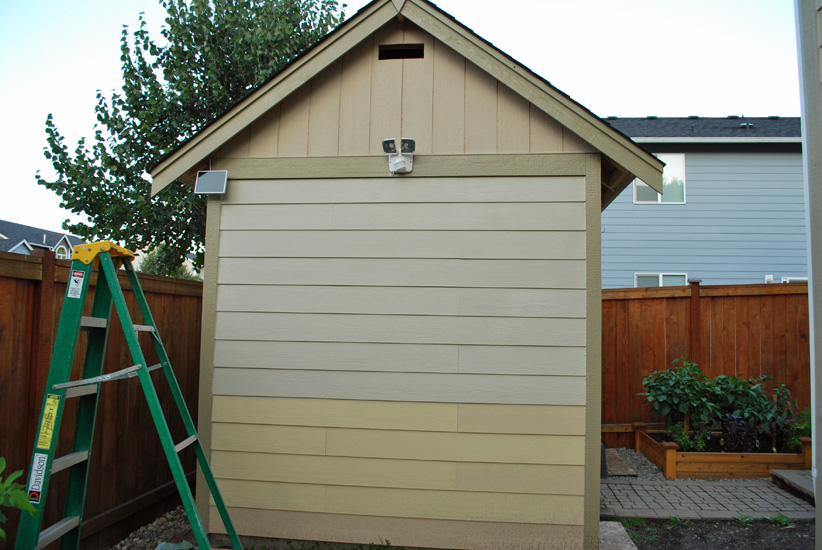
The west end will have a loft area as well.

Project: Storage Shed – Paint

After several days for rain mixed in with thunder and lighting, it’s finally time to get back to our project.

Let the painting begin!

Our focus now is the east wall and getting the fence put back up into place.

2013-09-07 008_edited-1

So while the focus is the east wall I begin to paint the south wall, while the east wall’s first coat dries.

We aren’t painting lower then pictured to give the boards time to dry out more from all the rain.

2013-09-07 010_edited-1

West wall is progressing along.

The vent hole is cut out, the solar light is installed (and works beautifully!) and the first coat of paint is brushed on. I’m enjoying this painting, it’s going a lot faster then the trim.

2013-09-07 013_edited-1The east wall is looking fantastic!
Tomorrow we will apply the second coat of  paint on everything (siding and trim) and install the vent.