My 1000 Post

My 1,000th posting has arrived!!

I am shocked that it’s here.

When we began this blog 6 years ago, I had no idea what to talk/blog about, let alone who’s going to read what I write!?! What do I have to say that is meaningful to those who read this blog?

Someone has been reading my words, most of those people have been family and a few friends. No one else has ever told me they read what I write, besides my own parents and they enjoy it. My father skims through the postings, mainly looking at the pictures and my Mother reads each one through. So someone does read it!

In those 6 years, I have really begun to enjoy blogging. I feel terrible if, I miss a day. This is my journal, about our lives and what we do. Some day, Isabel will be able to look back and read what she did on this and this day. She may even get a few laughs out of it and say, “Hey, I remember doing that!”

What I hope she gets most out of my words/blog, is that I love her very much. I want her to look back and remember those times that she has forgotten when she’s older. So she can sit at her dining room table (eating dinner) and tell her kids about the time she did this and the time she did that. Just like she enjoys doing with Daddy and I now and hearing about when we were her age.

So what I write is for her… remember to have faith, put your hope in Jesus. He loves you more. Laugh and enjoy this website.

2013-05-09 040_edited-1

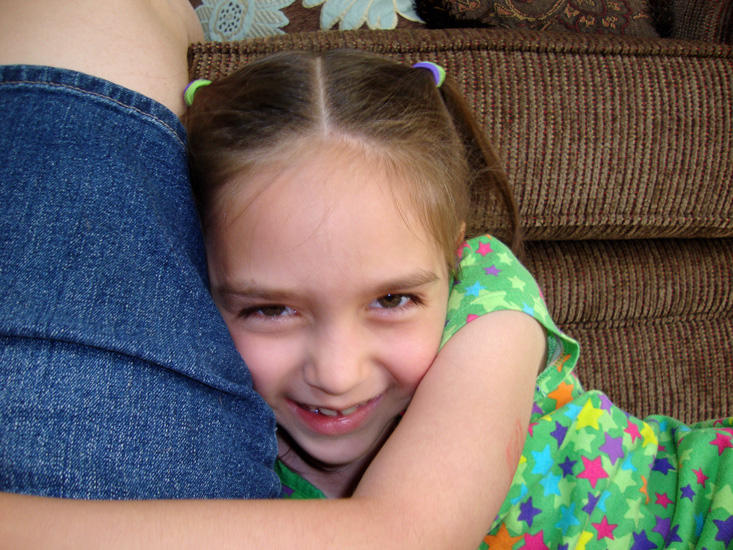
It’s for you, Squirt! I love you.
Project: Walnut End Grain Cutting Board

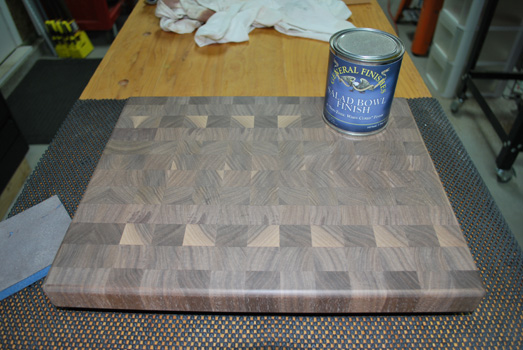
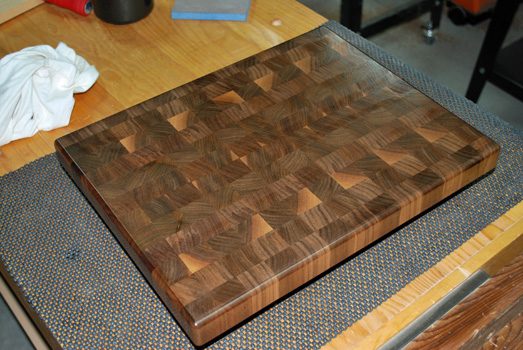
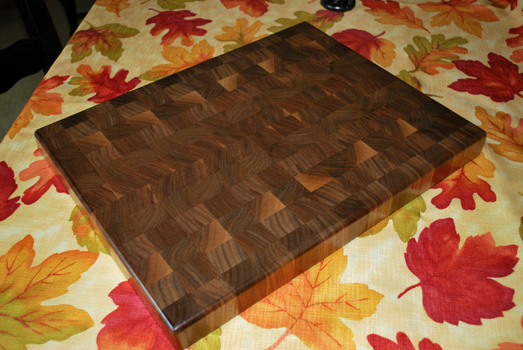
A few days ago Gino started working on a new project for the kitchen… a walnut end-grain cutting board, just like the one he made here.

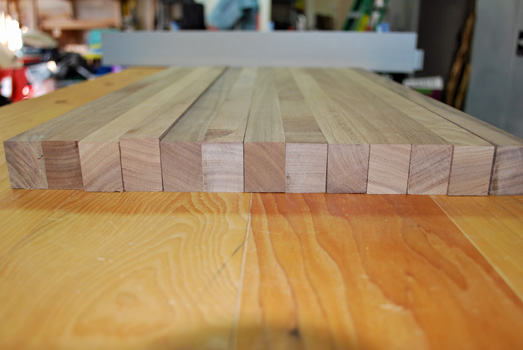
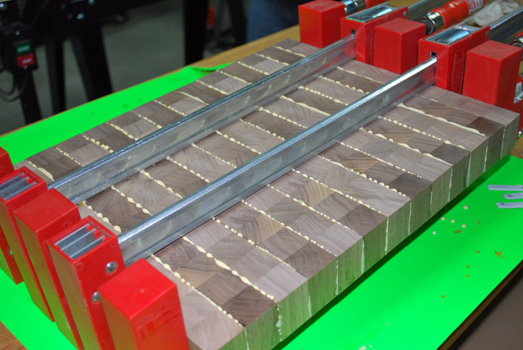
Day 1: 13 boards to begin with.

Looking lengthwise, the boards are still loose. Then is the first application of glue.

Day 2: the glue application dried for a day.

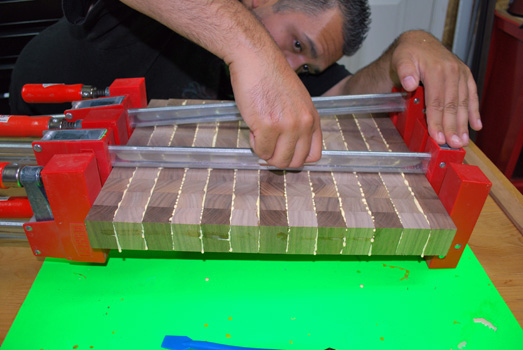
Day 3: he cut, rotated the boards, and then glued them again.

Now we wait a few hours to let the dripped glue dry.

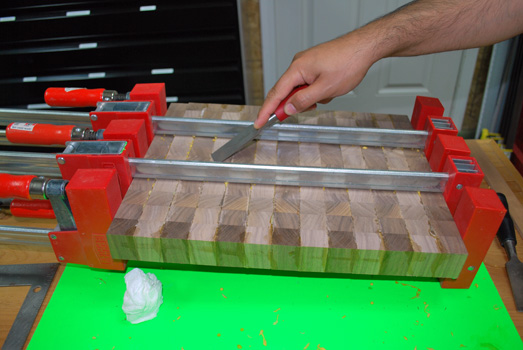
After the dripped glue is dried, he scraps off the excess and allows the rest of the board to dry overnight.

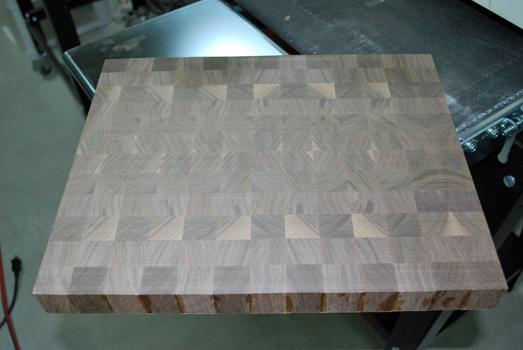
Day 4: clean up sanding. Smooth but still a bit rough along the edges.

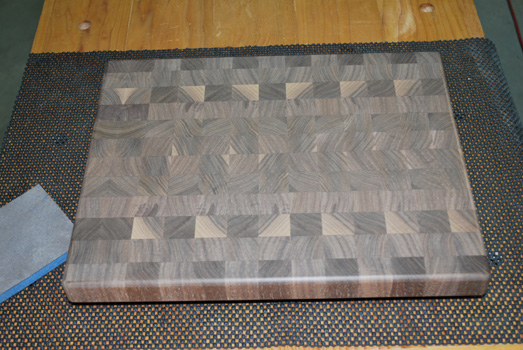
After a bit more sanding and rounding the edges; it’s looking good.

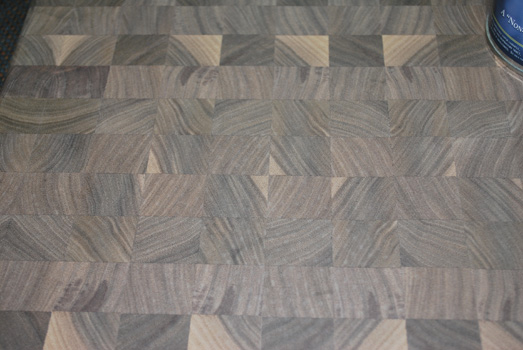
A close up of the end grain surface.

One of the last steps is the application of “salad bowl” finish. The finish has a sheen and resistance of varnish but is non-toxic for food contact.

First coat of the finish.
He put on a few coats before it was complete to dry for 72 hours.

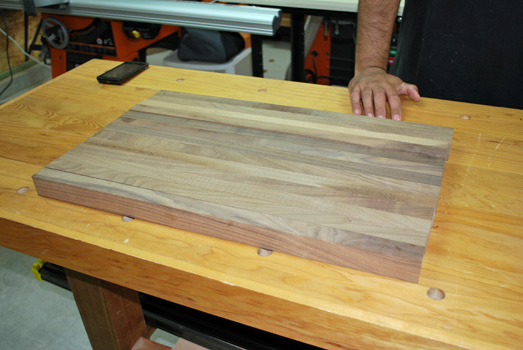
All finished just need to get some rubber feet to stop it from sliding off the counter.
Thank you for the new addition to the kitchen! I like it.

Project: Floating Shelf

I have been wanting to get Isabel’s room completed but I know that it’s hard to do. I requested from Gino, built-in bookcases along one wall with a window seat in between the bookcases. Easier said and done when you have life going on all around you. Right?! So I decided to get moving on getting the bare walls decorated with what was in my brain and I could do this without the use of Gino and his woodworking tools. Or so I thought…
On one of her walls I wanted to place floating shelves for her little knickknack’s and photos. However I couldn’t find anything I really liked until we went to Home Depot and I spotted these shelves. They were the size and color that I was looking for and they could be purchased in several different sizes depending on what I wanted exactly.

However I talked myself out of buying them after I happened to see an open box on the shelf. The material used and just the whole look of the shelf screamed “CHEAP!” to me. While I debated the issue, Gino spoke up and said, “Well, I could build you something.” After discussing the issue further, we headed over to the wood trim area to look at materials. I picked out some crown molding for the edge of the shelves and wood for the shelf. No paint was needed because I would be using leftover white paint from her baseboard trim.

The weekend passed without further mention of my shelf project and I actually thought he forgot. He was actually going over the whole project in his mind all week! We talked about it again and he told me his idea. I was completely lost with what he was saying. I have to have a picture or an actual item in my hand to “see” what he was talking about. So that following evening after work, he headed out into the garage and began working on his idea for my shelf.

The next night he came in with this boxed shaped shelf and said, “Is this what you want?”
“Well, sort of.” I said.
He said, “Well it won’t look like this I have an idea for that.”
“OK.”  I said.

The next night he’s back out in the garage working and he comes in with this SHELF! I jumped up screaming… “THAT’S WHAT I WANTED! THAT’S WHAT I WANTED!” I gave him a huge hug and kissed his face while he stood beaming over all the excitement I was giving him over this SHELF! It’s AWESOME!

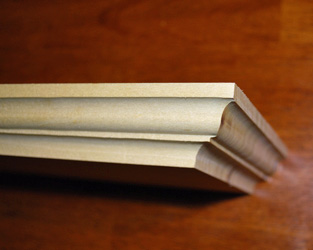
The edge of our shelf.

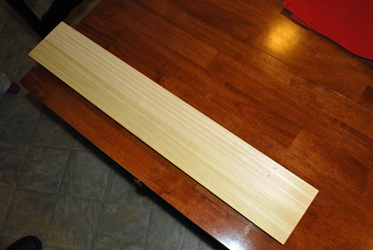
The top of the shelf where the knickknack’s will sit.

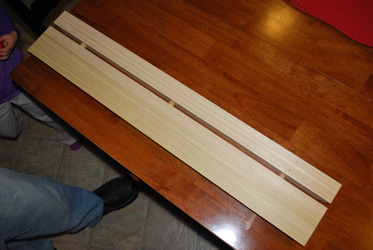
The divided pieces fit together to form a solid mount to the wall stud.

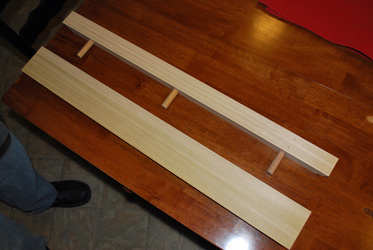
Separated.

The shelf is 32 inches long on the top and 30 3/8 inches along the bottom and 5 1/2 inches wide. It is 1 1/4 inches thick.
I’m hoping that he can get another one made but shorter.

Thank you so very much!!! I love love Love It!!!!!

Project: Twin Bed

For the past several weekends (some weeknights)  Gino has been working on a project for some friends from church. Their daughter is getting a bedroom makeover and they asked Gino if he could make them a bed for what they needed/wanted.

He made it but they wanted to paint it. So today we delivered it.

I’ll start at the beginning…

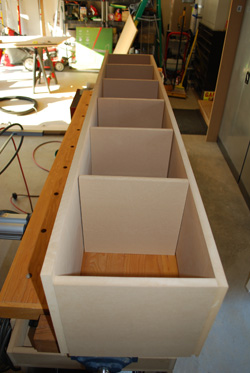
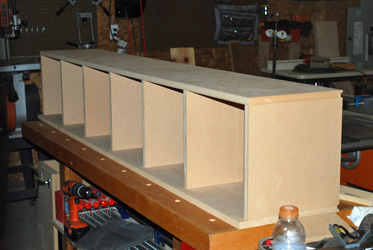
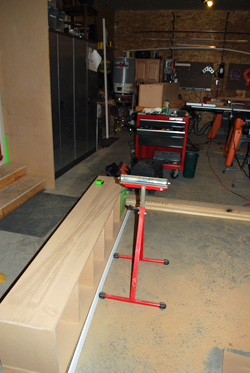
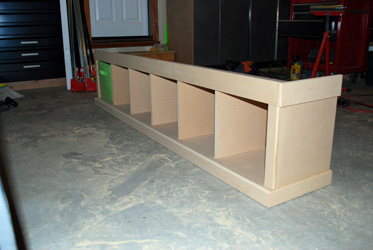
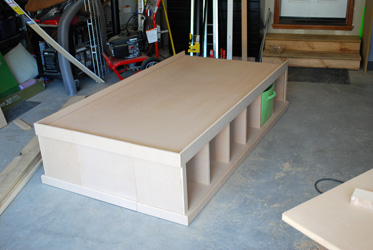
The beginnings of the cubbies. Here the only thing nailed down are the end braces.

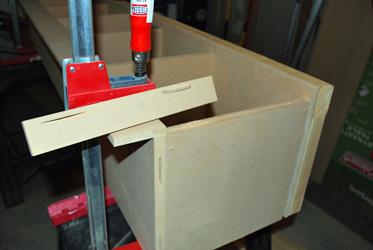
The cubby dividers are all nailed down and the back is attached too.

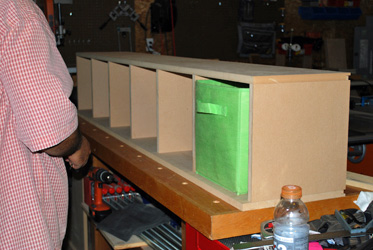
The cubby size was determined by the owners green basket.

Making more progress. Legs were added.

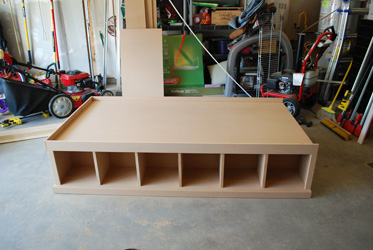
The front.

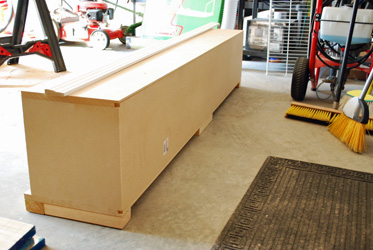
By the end of the day, he has both base of cubbies framed out.

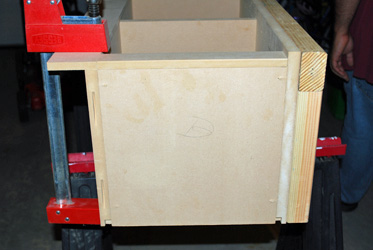
The trim work along the front is attached with biscuits, glued, and then nailed down.

Close up of the base while being glued.

Glue is dry and the trim is in place.

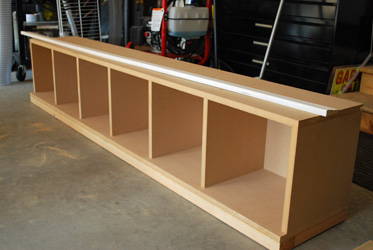
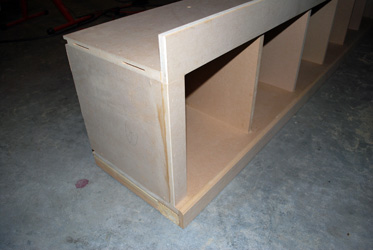
Finished cubby.

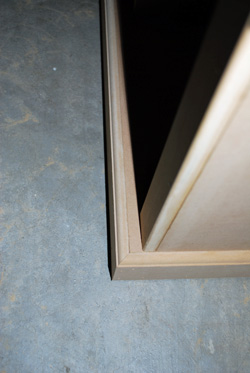
Close up of the detail along the base of the cubbies.

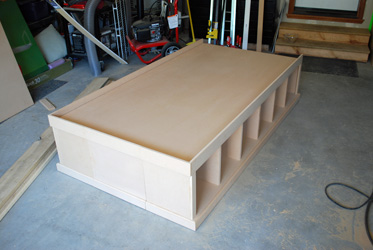
The completed bed. The panel along the footboard opens for additional storage.

A few coats of oil based primer, some paint, a mattress, and you’ve got yourself a bed!

12 cubbies and additional storage in the footboard. That’s some serious storage for a bed. Now it’s time for delivery…

The customers were very happy! The daughter was ready to get painting!
Awesome job Gino!

Finished Room

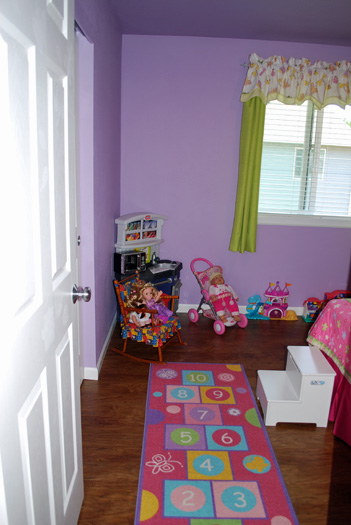
So we finally got her room all done, it took a bit longer then we were expecting but it turned out great. However there are a few more little things that I need to do but otherwise her room is complete…

Welcome to Isabel’s new room…

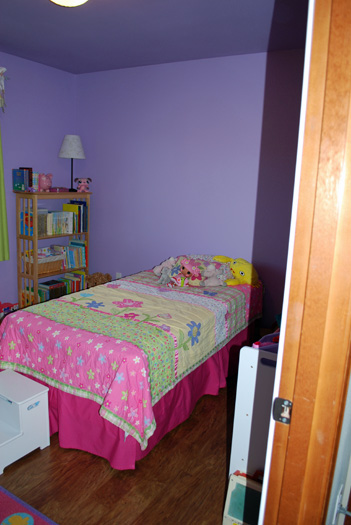
We took the risers off her bed which took away the storage underneath but I was able to find a container to fit under the bed for all her babies.

With the risers gone she doesn’t really need the steps but she likes climbing up them and the top step opens for storage for her pj’s during the day.

Need to get the decor back up on the walls but need to purchase a few new things.

The Closet Gets Organized

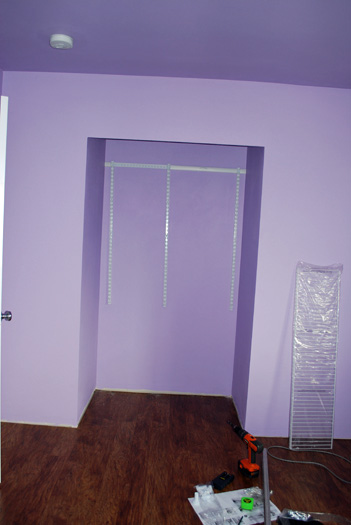
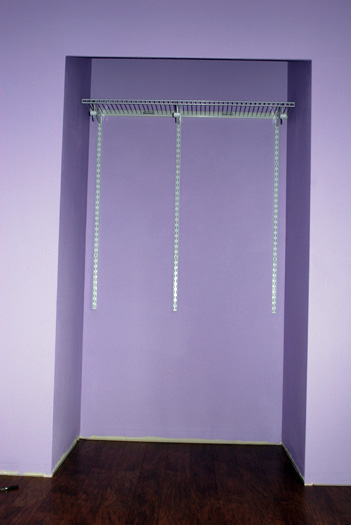
Yesterday Gino worked on getting the closet organizer in, while the paint dried on the baseboards.

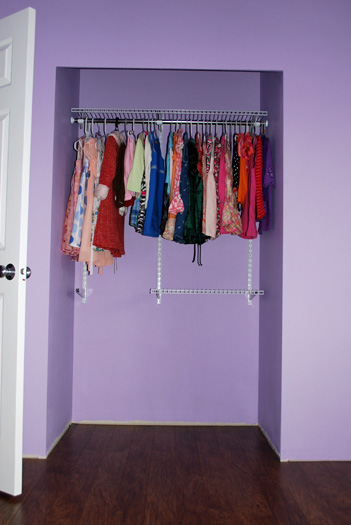
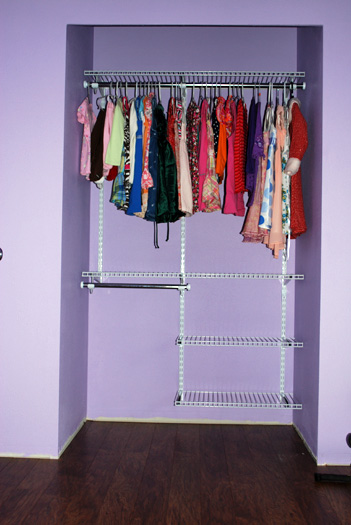
The closet beforehand was just a simple shelf and rod to hang the clothes. However it really wasn’t that practical since the rod was divided with spacers, causing the clothes to be spaced apart. The new organizer has a “floating” rod which makes room for more clothes to be hung. Also, the whole closet space is used rather then the upper half. Love it! Love it! Love it!

Anchor mounts mounted.

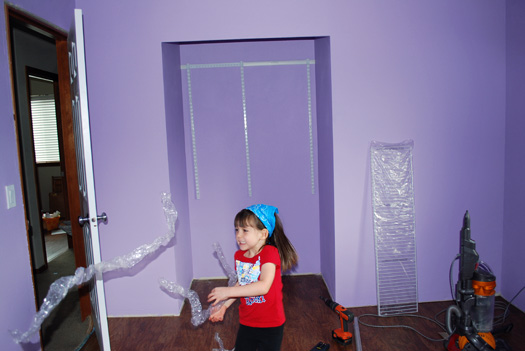
While Daddy’s working on that, Isabel plays with the plastic wrappers from the mounting hardware.

She’s more the happy with her new room… she’s all smiles!

The top shelf needed a trim and then was placed into position.

The rod was trimmed down too and the rest of the organizer was easy to add.
So much space!

Now there is a upper rod and a lower half rod with shelves for clothes.
We ditched the dresser and are just using the closet!
I love this organizer so much that I told Gino we needed something like this in our “master” rinky-dink closet.

In With The Wood

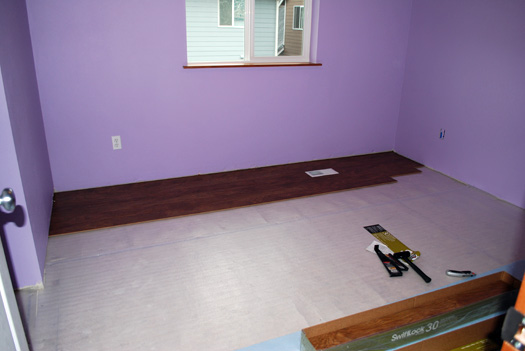
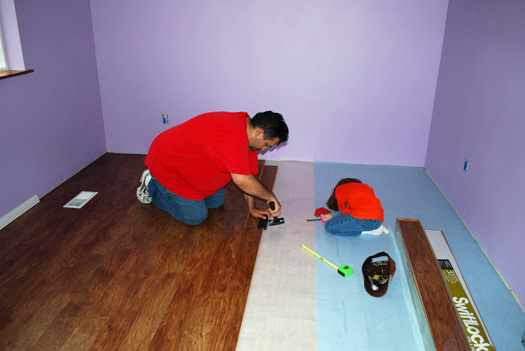
Gino began the flooring today.

I like it already and it’s not even done.

That looks so good!

Daddy’s little helper, at least she has all the right tools.

Tapping boards into place.

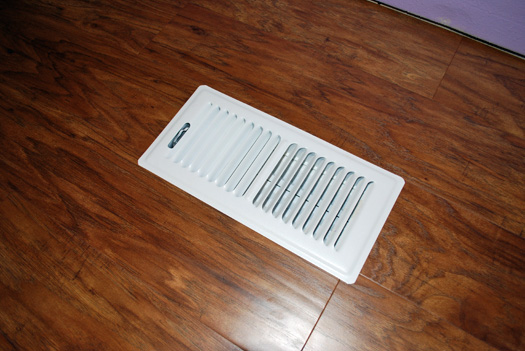
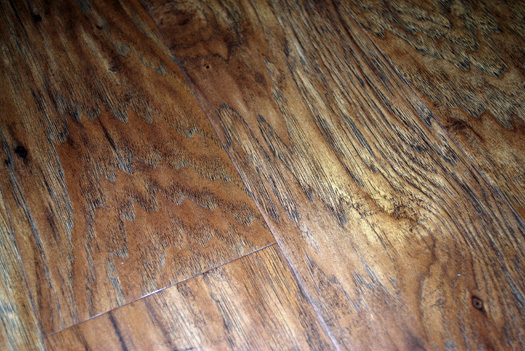
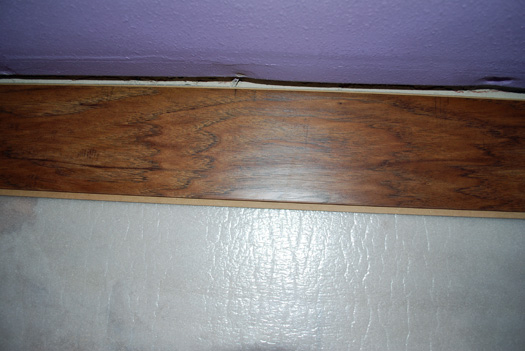
Close up of her new flooring. So different from the den floor, which has more red in it .

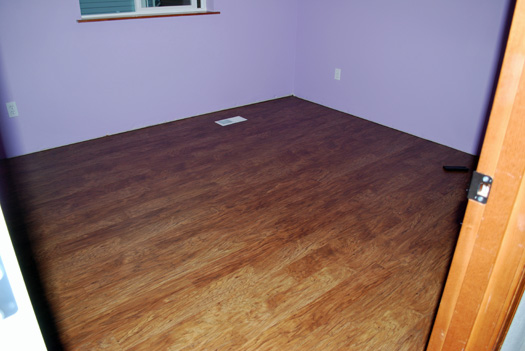
Looking north into the closet.

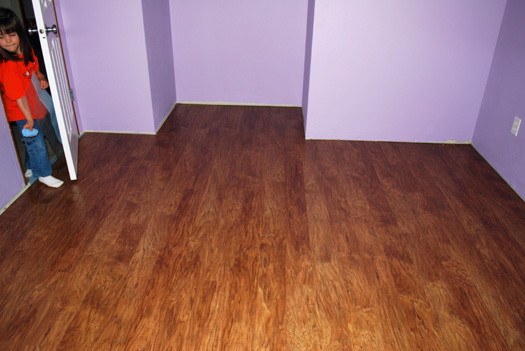
Finished flooring… well almost. We had to order 1 box because we ran out. So we wait…

Out With The Carpet

We had to wait a few days for the flooring to arrive which was nice because the room was able to air out from the new paint smell. We just opened the window and shut the door!

Out comes the carpet.

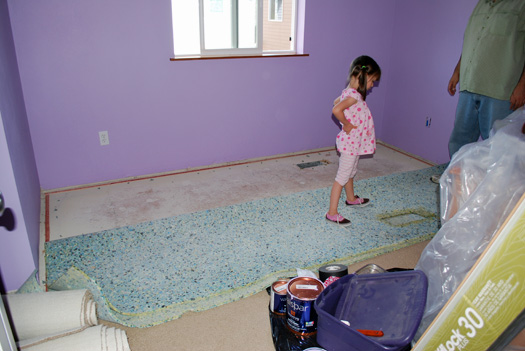
Carpet and padding gone from half of the room.

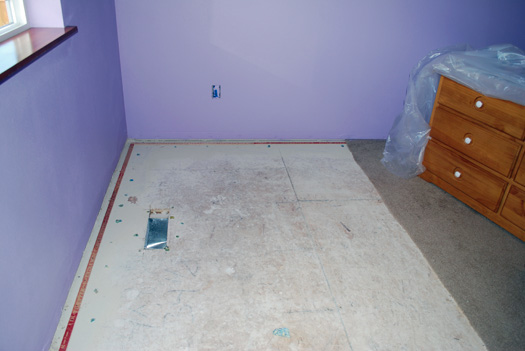
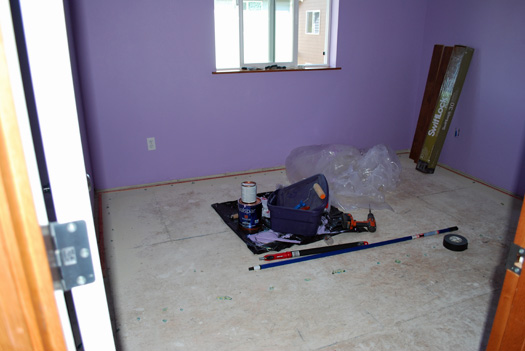
The carpet completely removed.

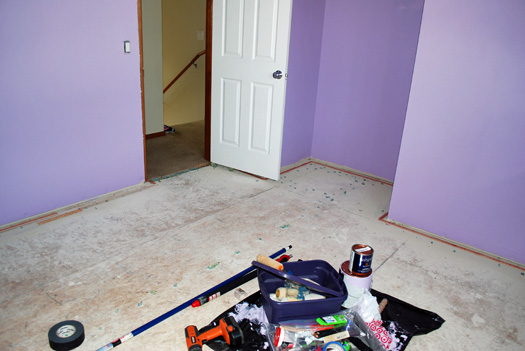
I’ve got to get to work removing all those staples in the floor from the padding.

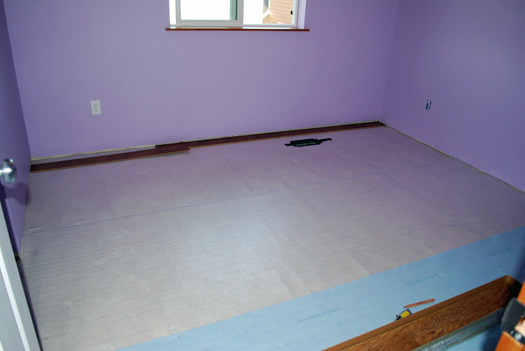
After prepping the floor, Gino lays the floor padding; for tomorrow he lays the wood!

We went with the same flooring that we used in the den 2 years ago just a different color; Almond Hickory. It really tones down the purple that was starting to cast purple out the hall and down the stairs! Yikes!